I know the frustration of stopping a high-speed production line because of one defective component. You worry about product safety and machine damage. I want to show you how we solve this problem at the source.
Burrs on tinplate bottom ends result from worn stamping molds or incorrect die clearances during the manufacturing process. These microscopic metal edges prevent hermetic sealing, damage coating layers, and introduce metal contamination risks. Regular mold sharpening and gap calibration are the only ways to ensure smooth, safe edges for canning.
We need to understand why these defects happen. It is rarely just "bad luck." It is usually a failure in the factory’s discipline. Let’s look at how these jagged edges destroy your efficiency and how we prevent them.
How do burrs on the edge affect my double seaming machinery?
I hear the grinding sound of a seamer jamming, and I know it costs you money every second. You need your equipment to run smoothly without unexpected stops. I treat your machinery as if it were my own.
Edge burrs act like tiny saw blades inside your double seaming equipment. They scratch the expensive seaming chucks and rollers, causing rapid tooling wear. This friction prevents the cover hook from interlocking correctly with the body hook, leading to false seams, "spinners," and leaking cans that you must destroy.
When you run a canning line, the double seaming operation 1 is the most critical step. This is where the bottom end marries the can body. The tolerance here is measured in microns. If I supply you with a bottom end that has a burr, I am essentially throwing a wrench into your gears.
A burr is a raised edge of metal. It might look small to the naked eye. However, your seaming rollers apply massive pressure to curl the metal. If a burr is present, it increases the friction. The metal does not flow where it should. Instead of curling under to form a tight cover hook, the metal might snag. This snagging causes the lining compound 2 to squeeze out unevenly.
More importantly, the burr damages your tooling. Seaming chucks 3 and rollers are hardened steel, but they are not invincible. A continuous stream of burred lids acts like an abrasive grinding wheel. You will notice your rollers getting grooves worn into them much faster than normal. This means you have to stop production to replace expensive parts.
We also see issues with "spinners." This happens when the friction from the burr stops the can from rotating correctly, or stops the roller from spinning. The result is a loose seam. A loose seam means air gets in. Bacteria get in. Your product spoils.
I have listed the specific damages burrs cause to your machinery below:
Impact on Seaming Components
| Component | Damage Type | Consequence for You |
|---|---|---|
| Seaming Chuck | Surface Scoring | The lid slips during seaming, causing loose seals. |
| Seaming Roll (1st Op) | Profile Erosion | The curl is not formed correctly, leading to short cover hooks. |
| Seaming Roll (2nd Op) | Groove Wear | The final seal is not tight enough (wrinkles), causing leakage. |
| Base Plate | Scratches | Can stability is lost, causing jams in the feed line. |
You cannot afford this downtime. The cost of the bottom end is small, but the cost of your downtime is huge. That is why I focus so heavily on the cut edge quality. It protects your investment in your machinery.
What should I look for to identify poor mold maintenance in samples?
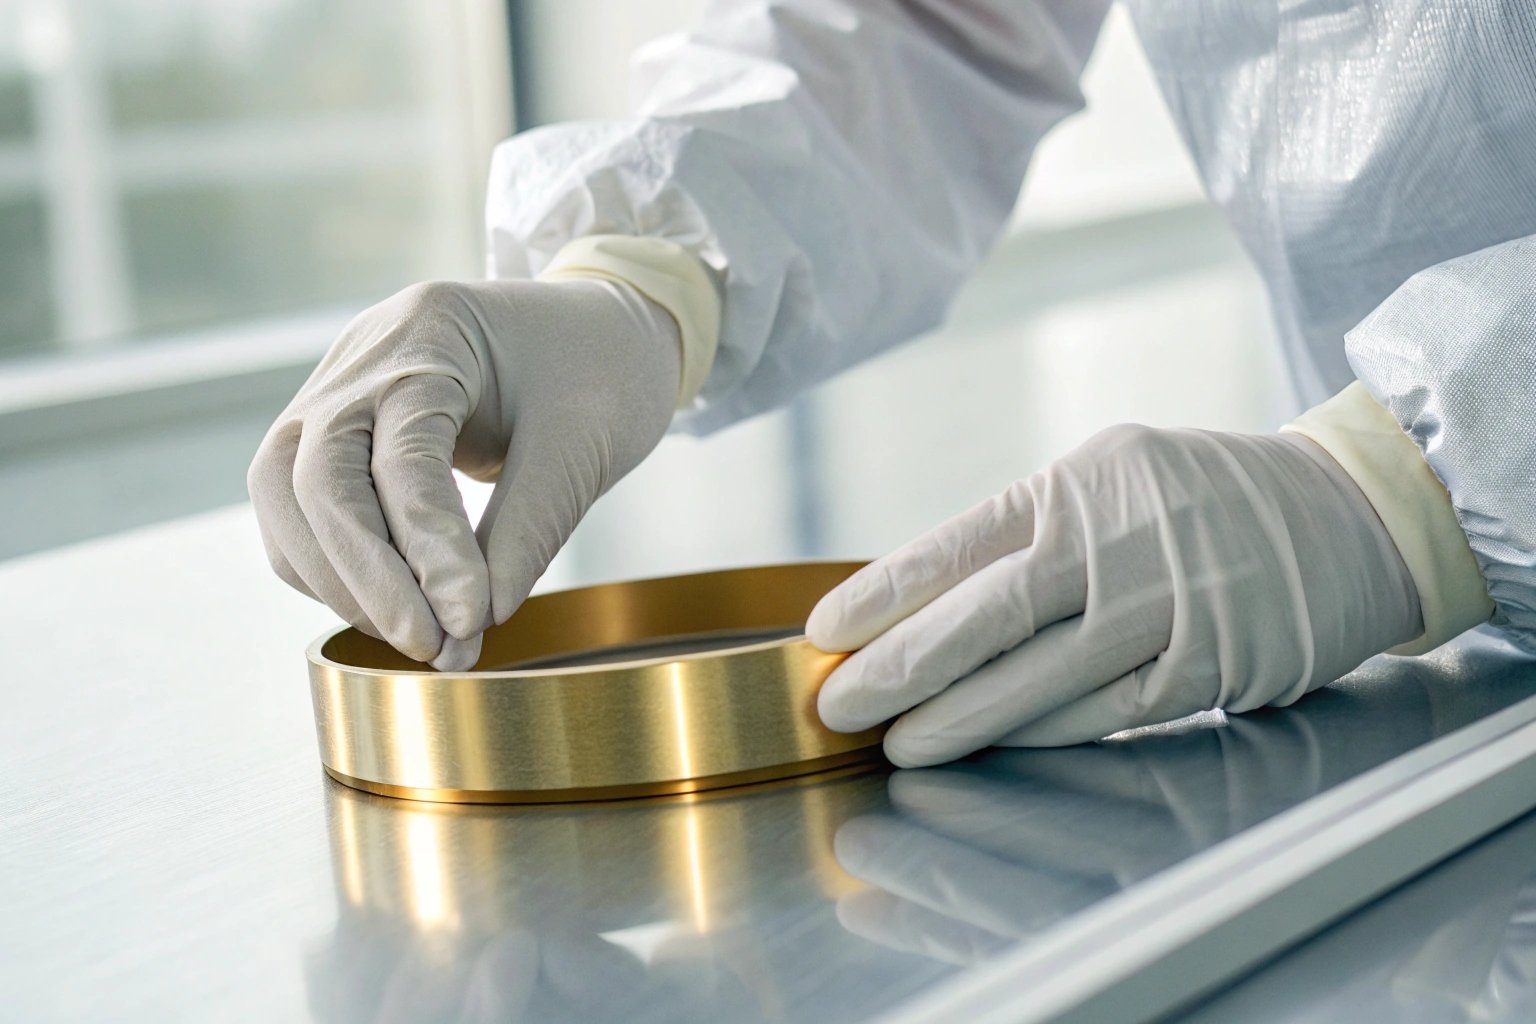
I look at samples every day, and I can feel a bad edge instantly. You need to develop this same sensitivity to protect your business. I want you to spot a lazy supplier before you sign a contract.
Poor mold maintenance leaves specific signatures on the tinplate edge, such as uneven burr heights or jagged "saw-tooth" patterns. You should inspect the cut edge under 10x magnification. Look for rollover burrs, which indicate excessive die clearance, or fracture burrs, which suggest the cutting edges are dull.
You do not need a laboratory to start checking this. You can start with a simple "finger test," but please be careful. Run your finger gently along the edge of the lid, against the grain. If it catches your skin or feels rough like sandpaper, you have a problem.
However, to really understand what the factory is doing wrong, you need to look closer. I recommend using a simple 10x magnifying glass 4 or a loupe. You are looking for the geometry of the cut.
A perfect cut has two zones: a smooth "shear" zone and a clean "break" zone. The shear zone is where the punch pushed the metal. The break zone is where the metal snapped cleanly.
If the gap between our punch and die is too big, the metal does not snap cleanly. It stretches. It rolls over. We call this a "Rollover Burr" 5. This tells you I did not calibrate the machine correctly for the thickness of the tinplate.
If the gap is too tight, or if my knife edges are dull, you get a "Fracture Burr." The metal tears. It looks jagged. This tells you I have not sharpened my tools recently.
The 10% Clearance Rule
In my factory in Fujian, we follow a strict rule. The gap between the punch and the die must be roughly 10% to 15% of the material thickness.
- If we use 0.20mm tinplate, the gap is 0.02mm to 0.03mm.
- If the gap is 0.05mm, we get burrs.
- If the gap is 0.01mm, we break the tool.
This precision is hard to maintain. It requires skilled engineers. Many suppliers set the gap wide because it is safer for the tool. They do not care that it creates a burr for you.
Visual Signs of Bad Tooling
- The Saw-Tooth: The edge looks like a bread knife. This means the punch is chipped.
- The Wave: The edge is not flat; it waves up and down. This means the tool is loose or vibrating.
- The Hook: A piece of metal hangs off the edge. This is the most dangerous type.
You must reject these samples. If the sample is bad, the mass production will be worse. I always send samples that represent my standard production quality, not "golden samples" made by hand.
Can metal burrs contaminate the food inside my cans?
I shudder when I think about a child finding a piece of metal in their food. You carry the legal and moral responsibility for your consumers. We must eliminate this risk completely at the manufacturing stage.
Yes, metal burrs are a severe physical contamination hazard. During the seaming process, the seaming rollers can break these brittle metal fragments off the edge. These slivers fall directly into the food content, violating FDA and EU safety standards and putting your brand reputation at immediate risk.
This is the nightmare scenario. We call it "flaking."
The burr is a thin, brittle piece of steel. It is attached to the lid, but very weakly. When your seaming roller hits the lid to curl it, it applies force. This force snaps the burr off.
Where does it go? Gravity takes it. It falls right into the can.
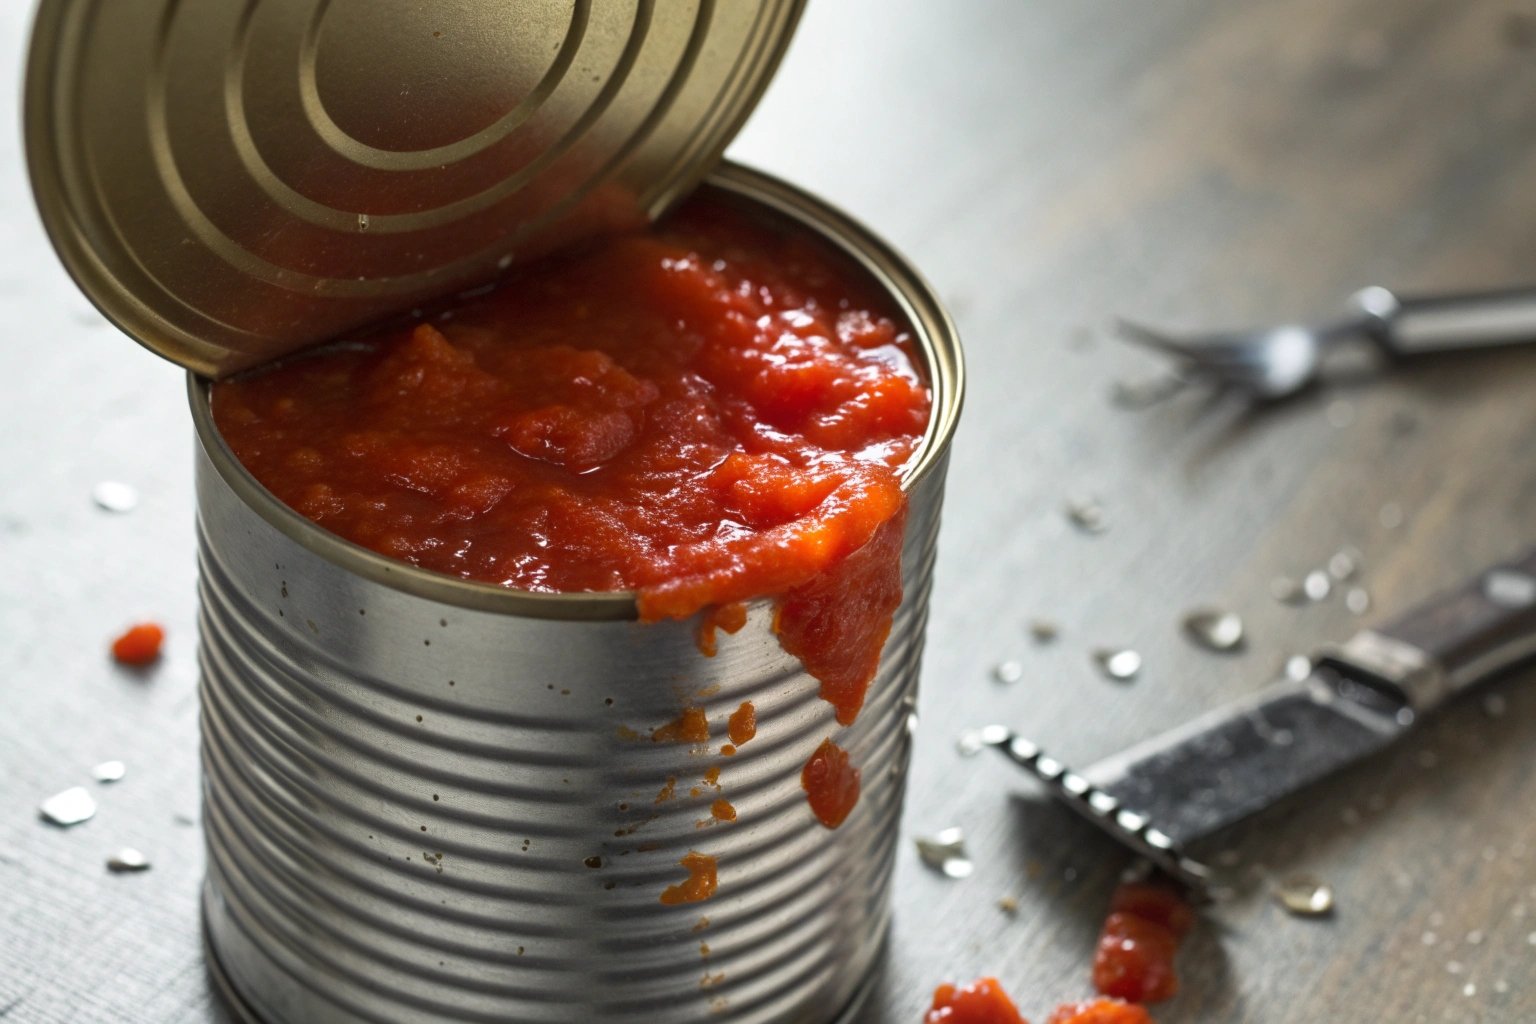
If you are canning high-acid foods 6 like tomatoes or pineapples, the risk gets worse. The burr is raw steel. It has no tin coating and no lacquer. Even if it stays attached to the lid, it will rust instantly.
The Corrosion Pathway
- The burr breaks the lacquer coating on the edge.
- The acid in the food attacks the exposed steel.
- Iron dissolves into the food.
- The food tastes metallic or the can swells (hydrogen swell) 7.
For my clients in Europe and Mexico, food safety is the number one priority. You cannot sell a product that might contain "foreign material." If a customer finds a metal shaving, they do not blame the tinplate factory. They blame you. They recall your brand.
Risk Analysis: Burr Types
| Burr Type | Characteristics | Contamination Risk |
|---|---|---|
| Compressive Burr | Short, thick, hard to break. | Medium. Leads to bad seals and leakage. |
| Feather Burr | Long, thin, very brittle. | High. Breaks off easily into the food. |
| Rollover Burr | Curved, connected to the surface. | High. Traps food particles, causing bacteria growth. |
I also see issues with "lacquer bridging." Sometimes, the coating covers the burr. It looks safe. But the coating is thin. As soon as the lid flexes, the coating cracks. The burr is exposed.
We test for this. We do not just look. We use "Enamel Rater" 8 tests to check if the metal is exposed. But the best way is to not have the burr in the first place.
How often does the manufacturer maintain their stamping molds?
I open my maintenance logs to show clients because I have nothing to hide. You should demand transparency about how your supplier treats their tools. You need a partner who values precision over speed.
A reliable manufacturer maintains stamping molds based on stroke count, typically every 1 million hits, or immediately if daily checks reveal issues. We grind cutting edges to remove fatigue and recalibrate clearances. This proactive schedule prevents the "burr creep" that happens when factories run tools until they break.
You might ask, "Chase, how do you keep the burrs away?" The answer is discipline.
A mold is like a kitchen knife. After you cut 100 tomatoes, the knife gets dull. If you keep cutting, you crush the tomato instead of slicing it. The same happens with steel.
In my factory, we have a strict schedule. We do not wait for the tool to fail. We service it before it fails.
The Maintenance Hierarchy
We divide our maintenance into three levels. This ensures that small problems do not become big problems.
-
Daily Care (Level 1):
Every shift, my operators clean the die. They use compressed air to blow away metal dust. They wipe the surface with non-abrasive cleaners. They check the lubrication 9. We use high-performance oil to reduce friction. Friction causes heat, and heat changes the size of the metal parts. We must keep it cool. -
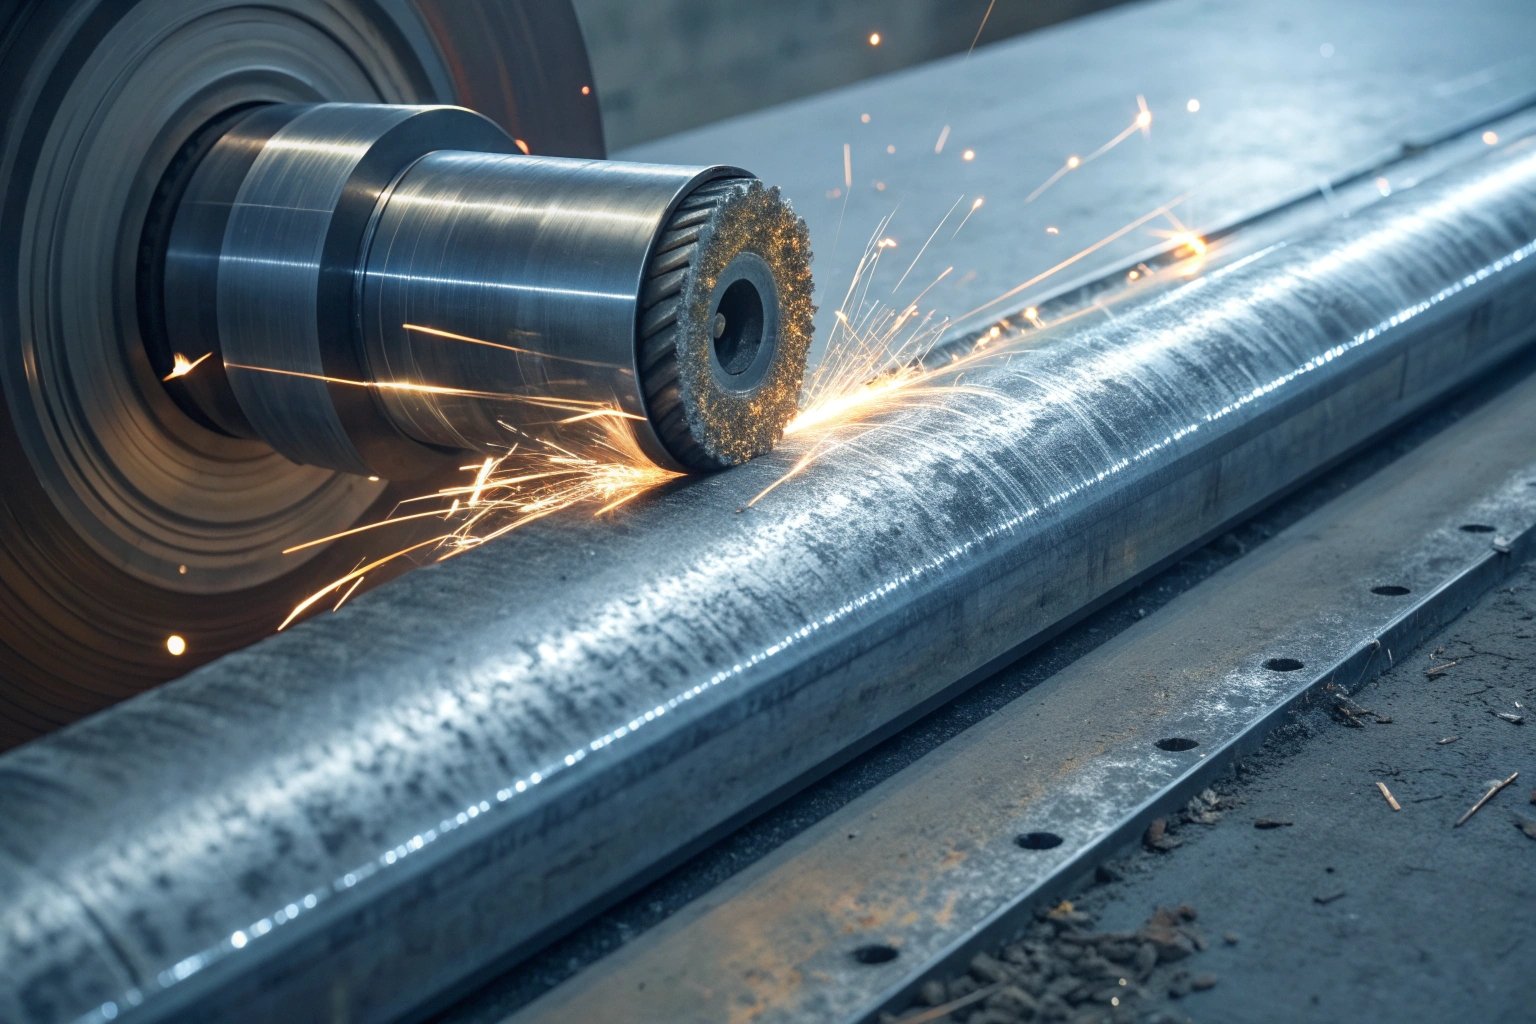
Scheduled Sharpening (Level 2):
Every 1 million strokes (or roughly every batch of large orders), we pull the mold out. We take it to the grinding room. We use a diamond wheel to grind the surface. We take off a very thin layer (maybe 0.05mm). This removes the "fatigued" metal and reveals a fresh, sharp edge.- Hardness Check: After grinding, we check the hardness. It must be above HRC60 (Rockwell Hardness) 10. If it is too soft, it will dull in one hour.
-
Full Rebuild (Level 3):
Once a year, we take the whole tool apart. We replace the springs. We replace the guide pillars. We measure everything. If a part is worn, we throw it away.
Standard Mold Maintenance Schedule
| Activity | Frequency | Purpose |
|---|---|---|
| Clean & Oil | Every 8 Hours | Remove debris that causes scratches. |
| Check Sample | Every 1 Hour | Catch burrs immediately during production. |
| Grind Edges | Every 1M Strokes | Restore sharp cutting ability. |
| Replace Parts | Every 6 Months | Prevent catastrophic tool failure. |
Many low-cost factories skip the grinding. They run the tool until it breaks. This saves them money on maintenance, but it costs you money on quality. They produce 5 million good lids, then 2 million bad lids, then 5 million good lids. You never know what you will get.
I believe in consistency. When you buy from Huajiang, the first lid and the millionth lid must be the same. That is only possible with strict maintenance.
Conclusion
Burrs are small, but they cause massive problems for your machinery and your food safety. You must choose a supplier who understands the science of mold maintenance. I invite you to test our quality yourself.
Footnotes
1. Explanation of the double seaming process mechanics. ↩︎
2. Properties of water-based sealants for can ends. ↩︎
3. Role of chucks in the can closing process. ↩︎
4. Best practices for visual inspection in manufacturing. ↩︎
5. Technical causes of burr formation in metal stamping. ↩︎
6. FDA regulations regarding acidified canned foods. ↩︎
7. Scientific analysis of hydrogen generation in cans. ↩︎
8. Equipment for testing porosity in can coatings. ↩︎
9. Importance of lubrication in stamping die longevity. ↩︎
10. Guide to understanding Rockwell hardness scales. ↩︎