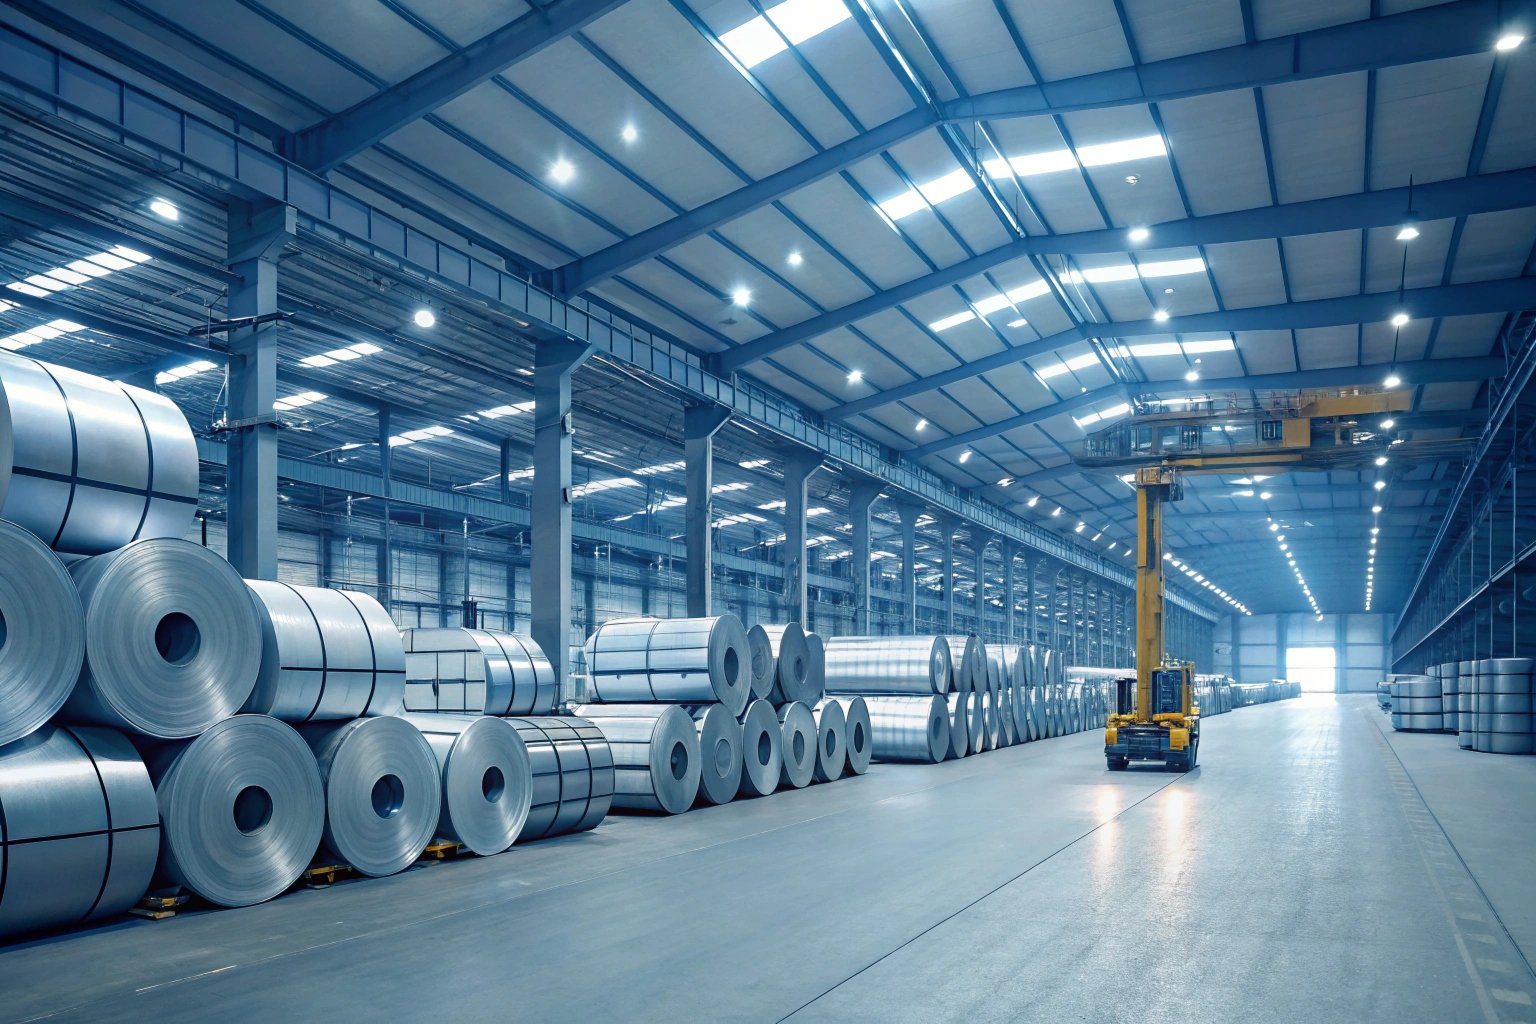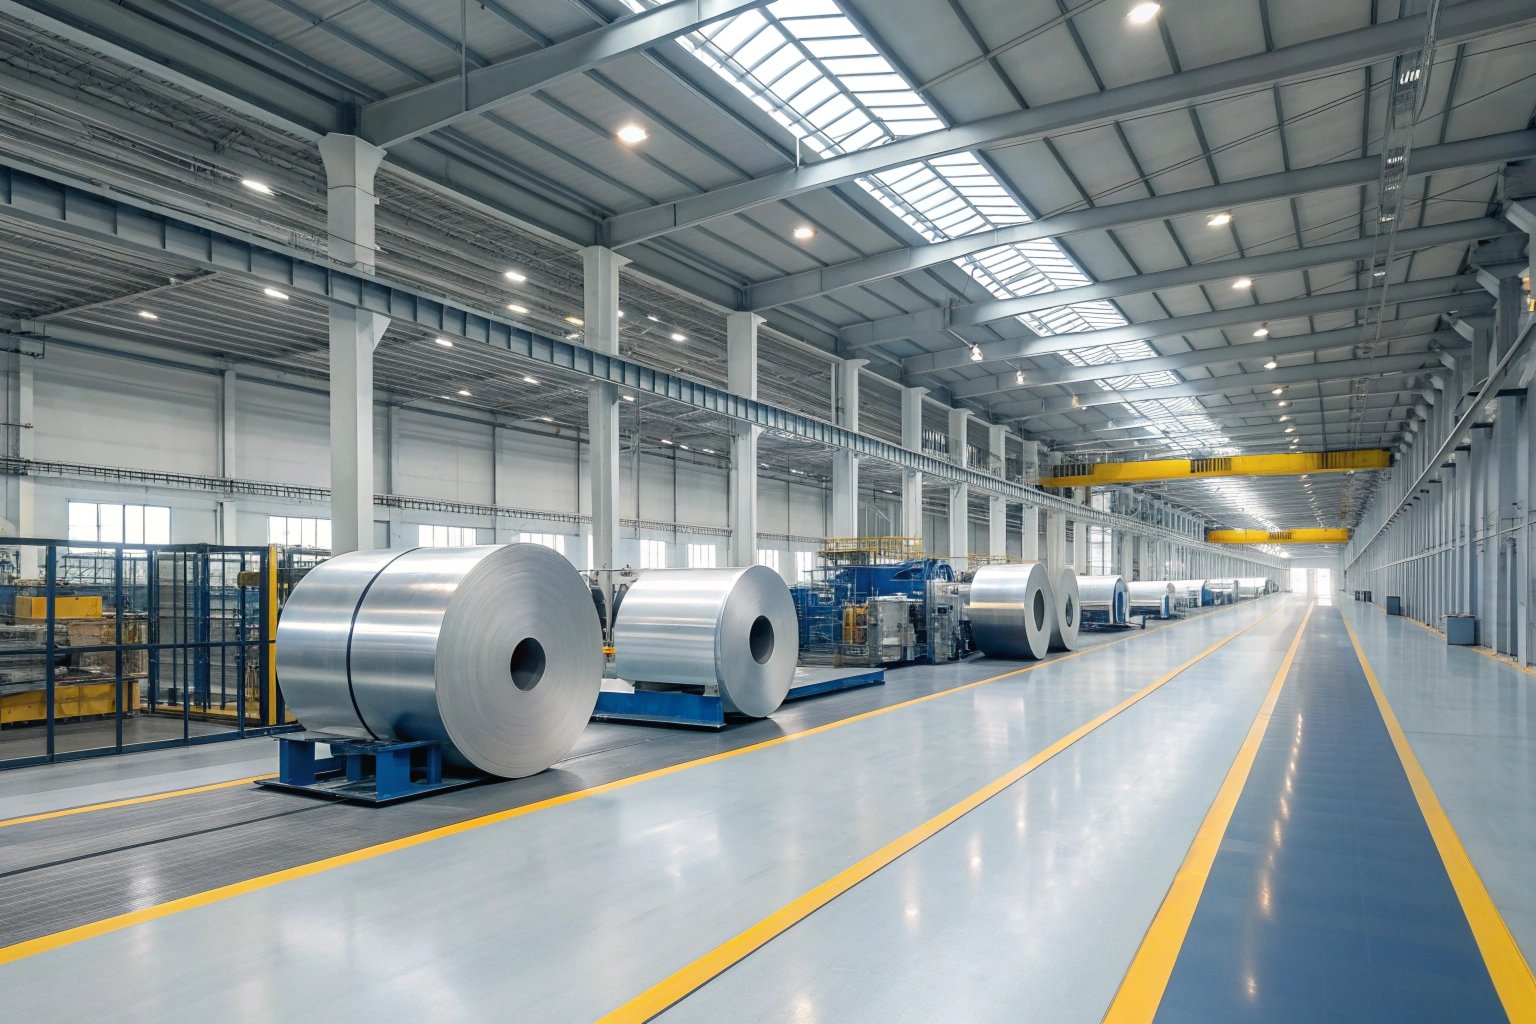
Buying raw steel is risky if you do not have your own coating lines. I know the headache of finding a separate printer and worrying about scratches during transport. This is particularly challenging when dealing with Electrolytic Tin Plate 1, where surface integrity is paramount for canning.
Yes, Electrolytic Tin Plate (ETP) can be fully printed and lacquered before shipping. Manufacturers use advanced lithography and coating lines to apply food-safe lacquers and multi-color designs on flat sheets, ensuring the metal is ready for immediate can fabrication upon arrival.
Let’s look at how this process saves you time and ensures your cans meet strict safety standards.
How many colors can your Fuji printing lines handle?
Faded logos and blurry text ruin shelf appeal. I have seen great brands look cheap because the printer lacked the capacity to lay down enough ink layers.
Our advanced Fuji Prima printing lines can handle up to six colors in a single pass. This multi-station capability allows for complex designs, including a white base coat plus four process colors and a spot varnish, delivering high-definition results for premium packaging.
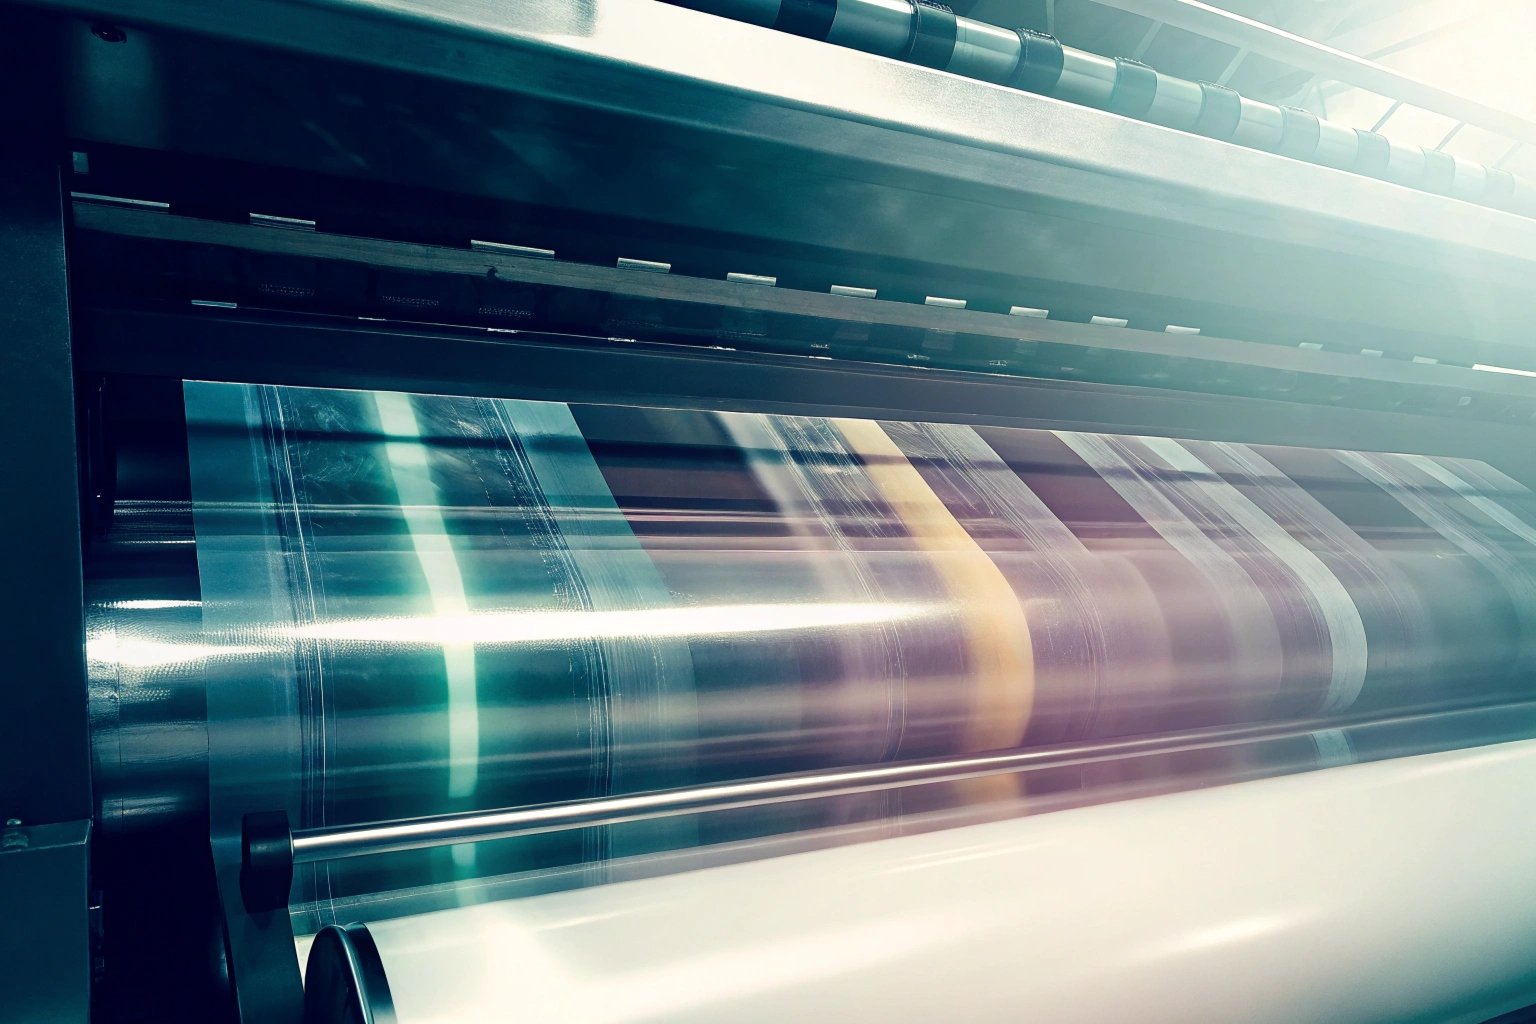
When we talk about printing on metal, the equipment makes a huge difference. In the metal packaging industry, Japanese Fuji printing lines are the gold standard. I often tell my clients that a machine is only as good as the layers it can apply.
The Power of Six Colors
Standard printing usually involves four colors (CMYK 2). However, printing on metal is different from printing on white paper. Tinplate is silver and reflective. If you print directly on it, the colors look metallic and dark. To get vibrant, brand-accurate colors, we usually need to print a solid white layer first.
[Image of CMYK vs RGB color gamut diagram]
With a 6-color machine, we can do this efficiently in one run.
- Station 1: White Base (Sizing).
- Station 2: Cyan.
- Station 3: Magenta.
- Station 4: Yellow.
- Station 5: Black (Key).
- Station 6: Spot Color (Pantone) or Varnish.
If a factory only has a 2-color or 4-color machine, they have to run the metal sheets through the line multiple times. Every time you handle the sheet, you risk scratches. Scratches mean rust. Rust means rejected cans. By using a 6-color line, we reduce handling and ensure perfect registration (alignment) of the images.
Why This Matters for Production Speed
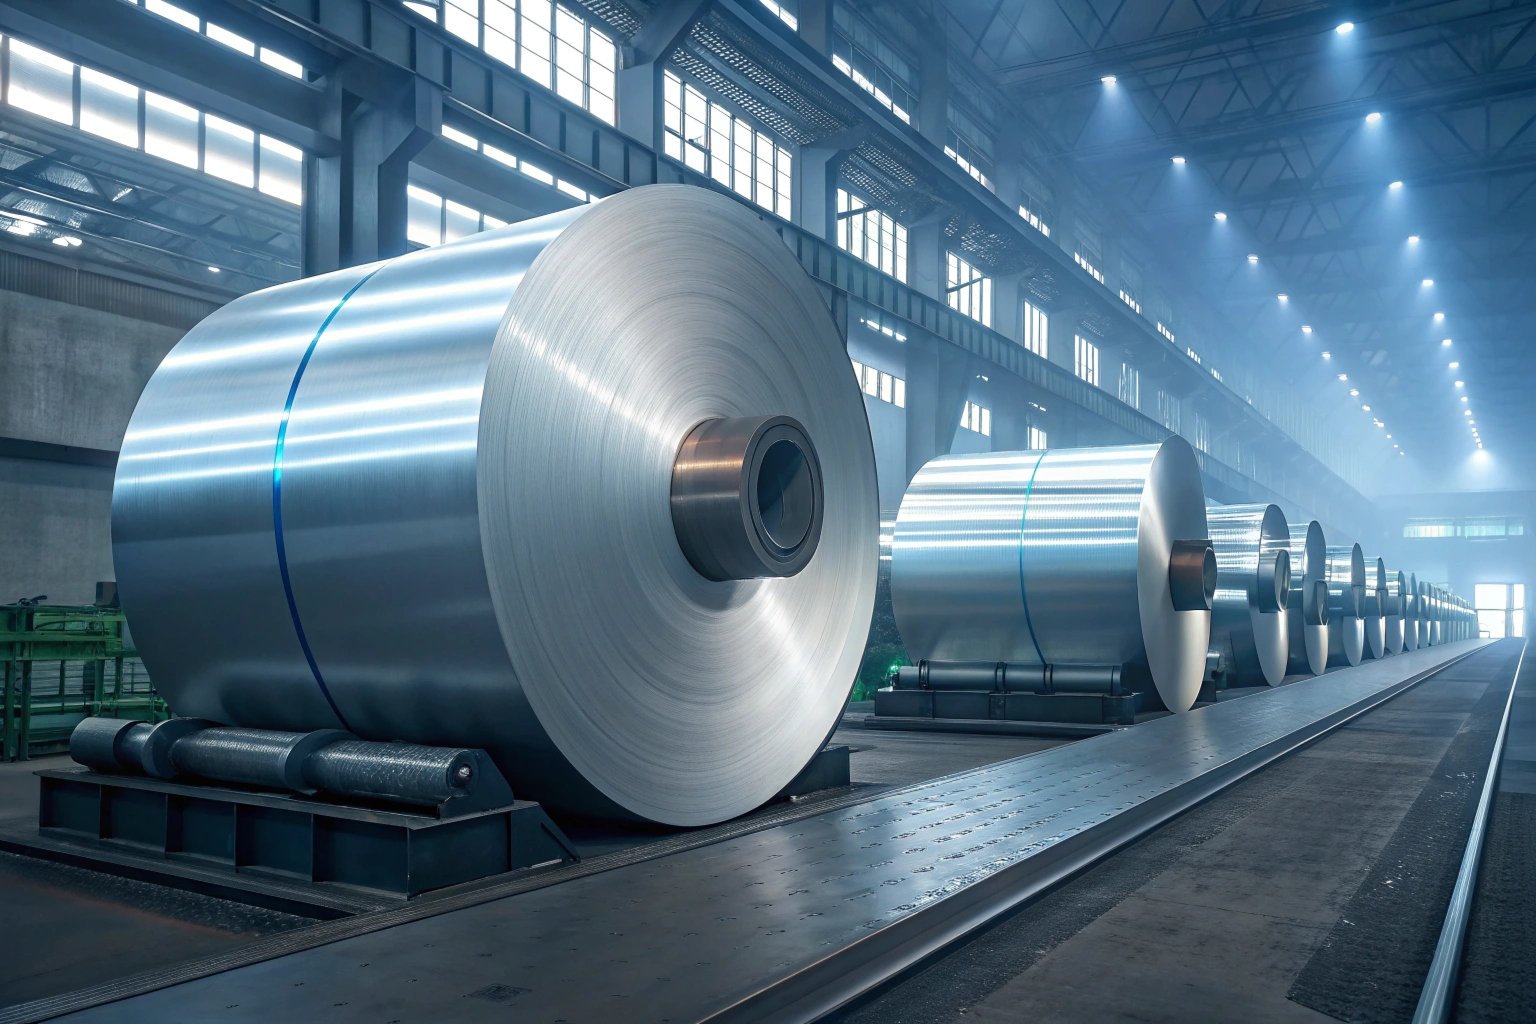
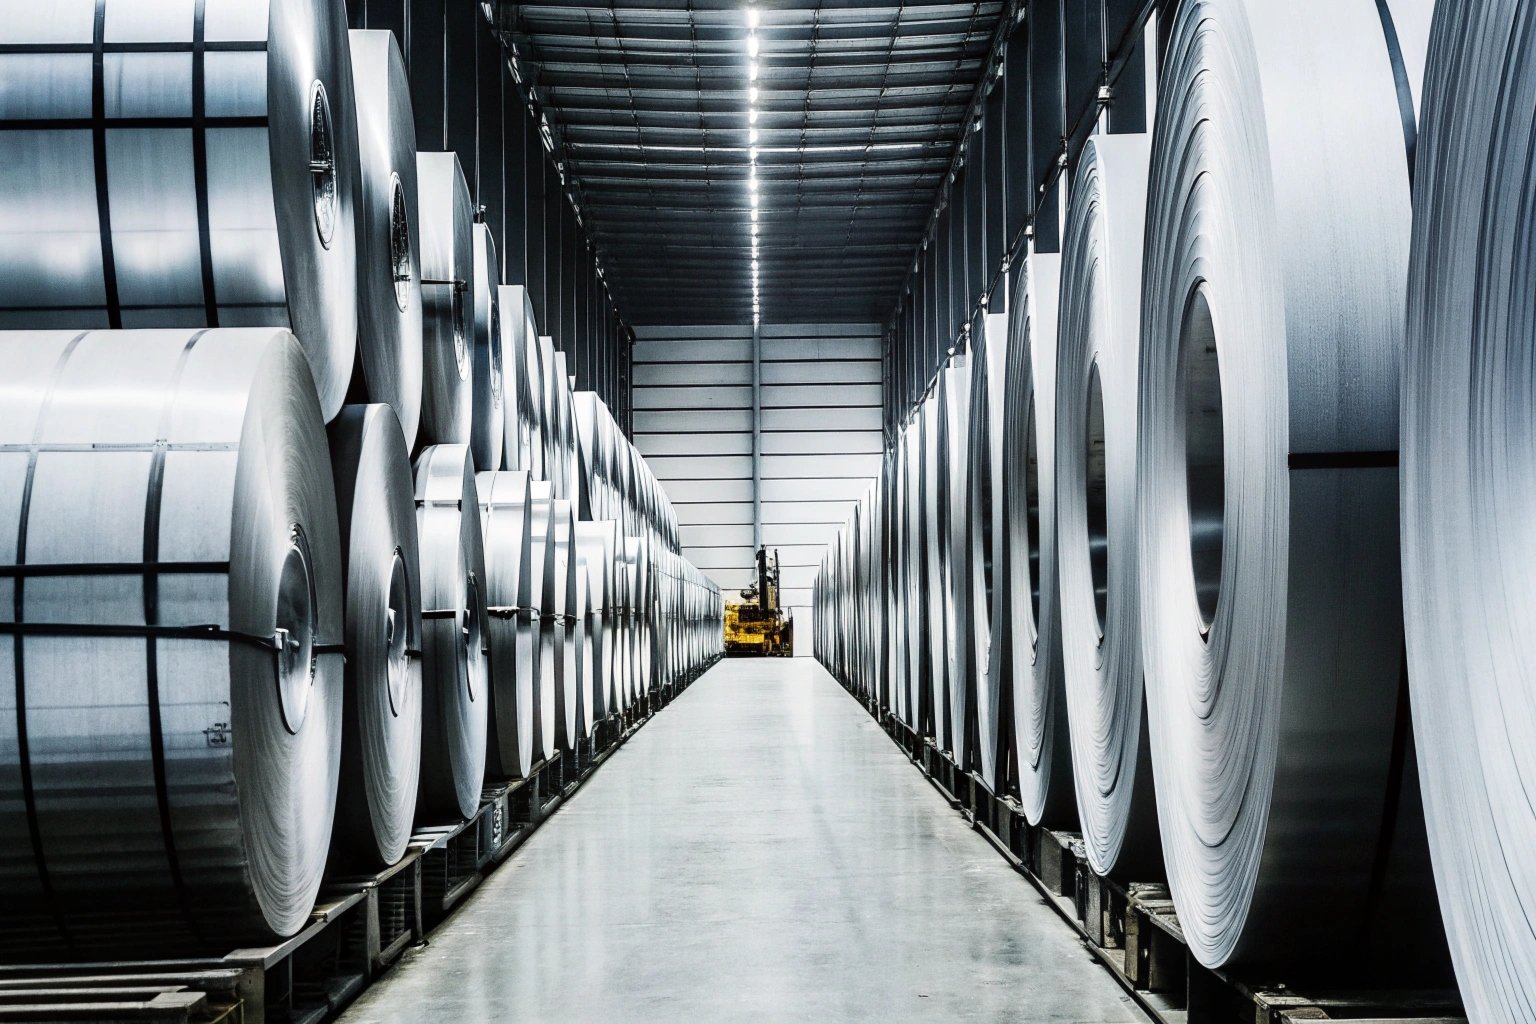
For a buyer like you, speed is money. If we have to pass the sheets through the oven three times to dry different ink layers, it takes three times as long. Our continuous lines speed this up. We can print thousands of sheets per hour. This is how we manage the 100,000-ton stock flow and ensure that when tomato season hits, you get your printed sheets on time.
| Feature | 4-Color Line | 6-Color Fuji Line | Benefit to You |
|---|---|---|---|
| Base Coat | Requires separate pass | Done in-line | Faster delivery |
| Registration | Risk of misalignment | Precise alignment | Sharper images |
| Handling | Multiple touches | Single pass | Fewer scratches/Rust risk |
Can you match my specific Pantone color for brand consistency?
Nothing is worse than your "Coca-Cola Red" looking "Orange" on the shelf. I know brand managers hate color shifts and will reject an entire shipment for it.
Absolutely, we use the Pantone Matching System (PMS) to ensure exact color reproduction. Our ink technicians mix specific formulas to match your brand’s unique shade, guaranteeing that your packaging looks identical in every batch, regardless of when it was produced.
Color consistency is one of the hardest parts of metal printing. Metal does not absorb ink like paper does. The ink sits on top. This means the surface of the metal affects the final look. If the tin coating is slightly different, or if the surface roughness (finish) changes, the color can shift.
The Role of the White Base
To fix this, I always recommend a heavy white base coat for food brands. This acts like a canvas. It hides the shine of the metal so your Pantone color 3 pops. If you want a metallic look (like a gold medal), we use transparent inks. But for a specific brand logo, solid ink is key.
Maintaining Consistency Across Batches
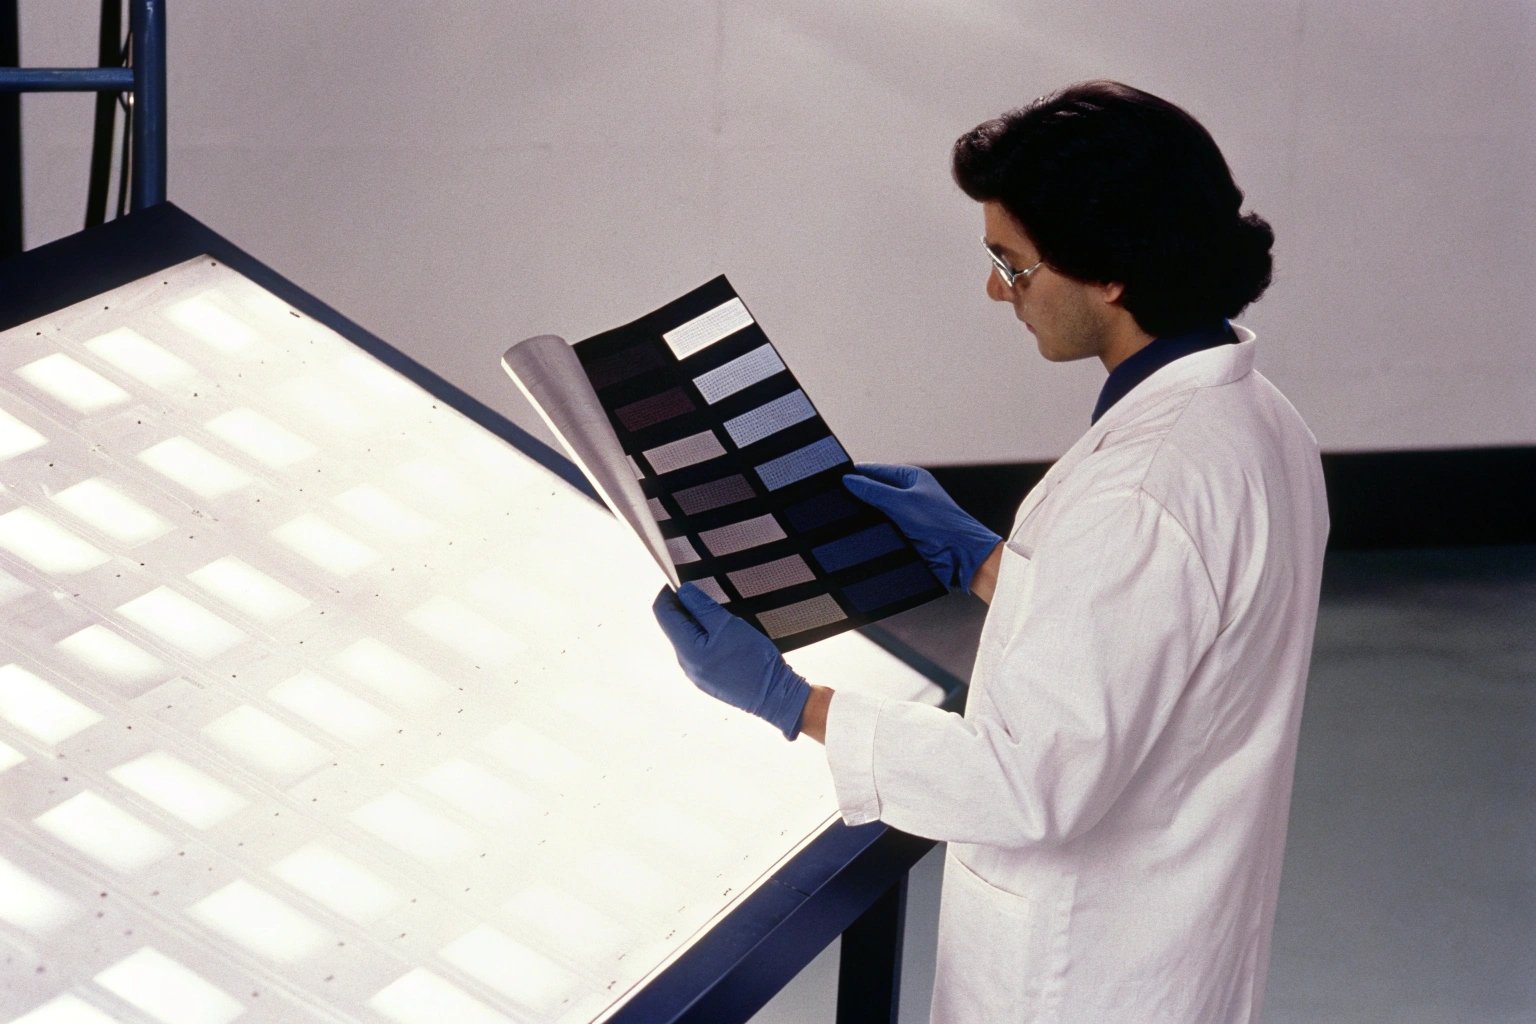
I have customers who buy covers every month. The covers they buy in January must look exactly like the ones they buy in July. We use a device called a Spectrophotometer 4. It measures color digitally. We don’t just trust the human eye. We compare the "Delta E 5" (the difference value). If the number is too high, we adjust the ink before we print the main run.
This is vital for global brands. If your canned fruit sits on a shelf in a supermarket in Spain next to the same product from a different lot, they must look like twins.
Types of Inks We Use
We also have to choose the right ink for the job.
- Thermal Inks: Cured by heat. Standard for most food cans.
- UV Inks: Cured by light. Great for very shiny, high-gloss finishes.
- Retort Inks: This is critical. If you cook your food inside the can (retort process 6), regular ink will change color or peel off. We use special inks that can survive the steam and heat of your sterilization process without changing shade.
| Ink Property | Standard Ink | Retort Grade Ink |
|---|---|---|
| Heat Resistance | Up to 150°C | Up to 130°C for 60 mins (wet heat) |
| Use Case | Dry food, cookies, candy | Fish, meat, vegetables |
| Cost | Lower | Higher |
| Risk | Fades during sterilization | Maintains color integrity |
What is the curing temperature for your lacquer to ensure safety?
Undercured lacquer peels, and overcured lacquer becomes brittle and cracks. I have seen entire shipments rejected because the oven was ten degrees too cool.
We cure lacquers at precise temperatures between 180°C and 205°C, depending on the coating type. This thermal process ensures the lacquer cross-links fully to the metal surface, creating a safe, inert barrier that withstands sterilization and prevents chemical reactions with food.
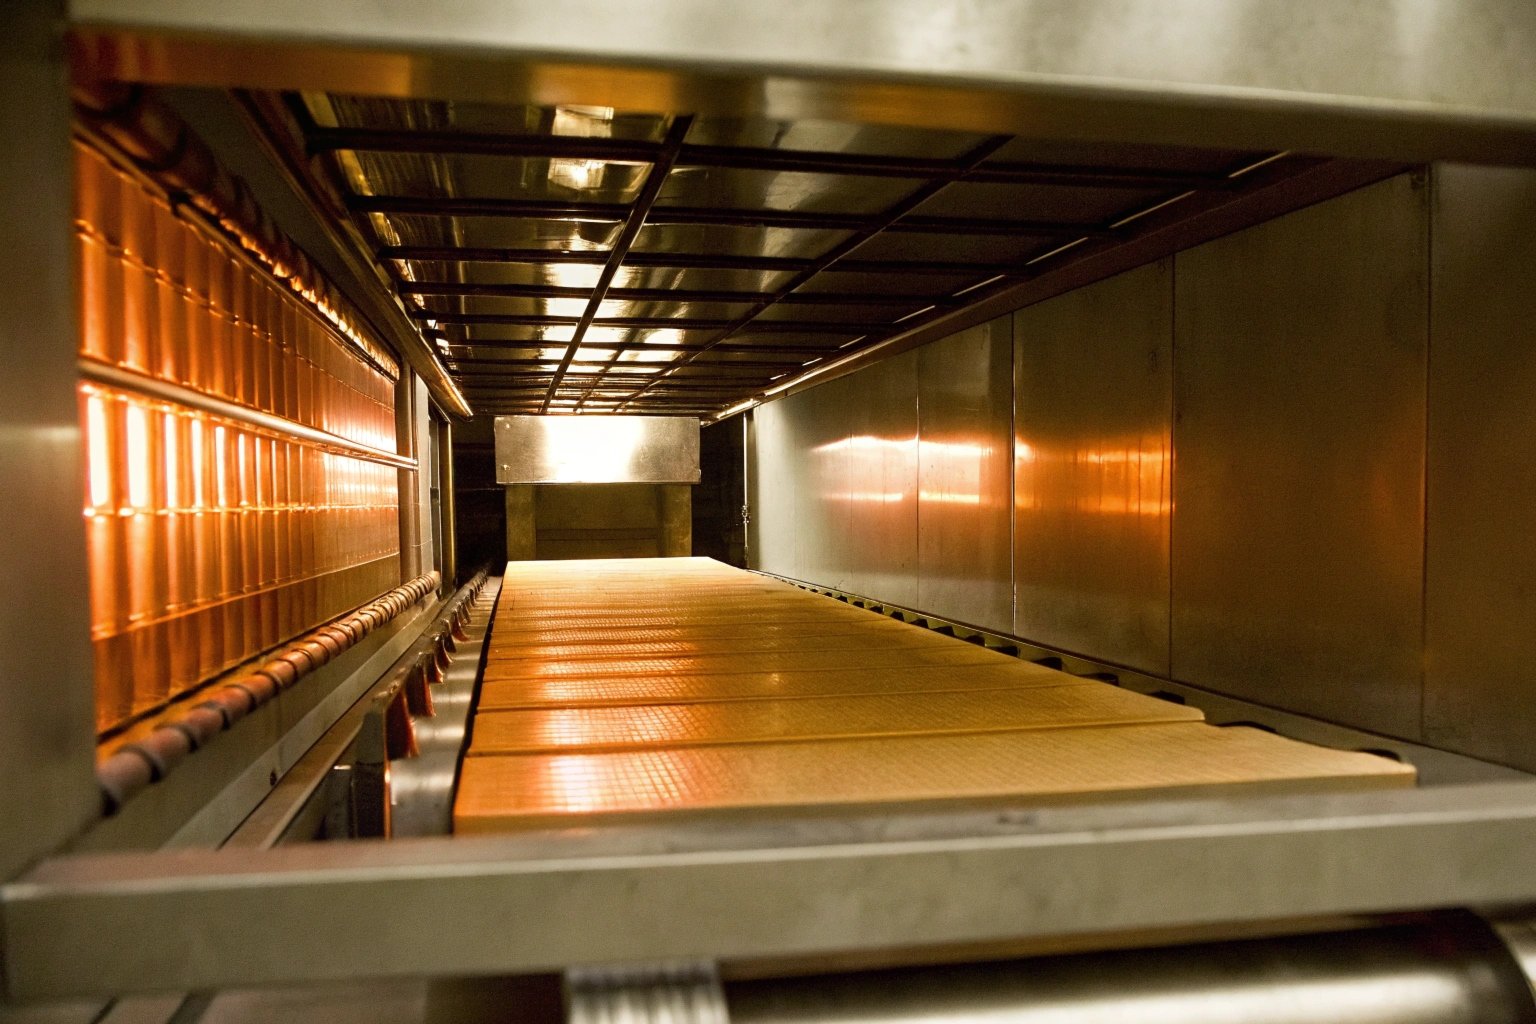
The curing process is where the chemistry happens. When we apply a liquid lacquer to the tinplate, it is soft and sticky. It needs to go through a long oven (often 30 meters long) to become a hard, protective shield.
Why Temperature Control is Critical
If the temperature is too low, the solvents inside the lacquer do not evaporate completely. This is dangerous. It can lead to "migration," where chemicals move from the coating into the food. This fails FDA and EU standards instantly. As your supplier, I ensure every batch passes a "MEK rub test" to prove it is fully cured.
If the temperature is too high, the lacquer loses flexibility. When you try to stamp the lid or form the can body later, the coating will crack. A crack is a pathway for acid to attack the steel. This causes hydrogen swelling (swollen cans) and botulism 7 risks.
Matching the Content to the Coating
Different foods need different coatings, and those coatings need different temperatures.
- Epoxy Phenolic 8: The gold standard. It is tough and flexible. We cure this around 200°C. It is used for almost everything.
- Organosol: Used for easy-open ends because it is very flexible. It needs a high temperature to cure properly.
- Aluminized Lacquer: Used for fish and meat. It hides the sulfur stains that happen when proteins are cooked.
We strictly monitor the "Peak Metal Temperature" (PMT). This is the actual temperature of the steel sheet, not just the air in the oven. We use sensors to track this.
Food Safety First
Since you deal with food products, safety is non-negotiable. Our curing process ensures that the coating is inert. It will not react with acid from pineapples or sulfur from tuna. This is how we prevent the "metallic taste" in food and ensure the can lasts for 2 or 3 years on the shelf.
| Lacquer Type | Typical Curing Temp (PMT) | Best Application |
|---|---|---|
| Epoxy Phenolic | 190°C – 205°C | General fruit, vegetables |
| Organosol | 200°C – 210°C | Easy Open Ends (EOE) |
| Vinyl | 170°C – 180°C | Dry goods, non-processed |
| White Polyester | 190°C – 200°C | Tomato paste (Acid resistant) |
Do you offer a proofing service before mass printing?
Betting a 100-ton order on a digital PDF file is a gamble. I always suggest seeing the metal first to avoid expensive surprises.
Yes, we provide metal proofing services to verify color accuracy and layout before mass production begins. This physical sample allows you to check the ink adhesion, text legibility, and overall finish, eliminating the risk of costly errors in the final run.
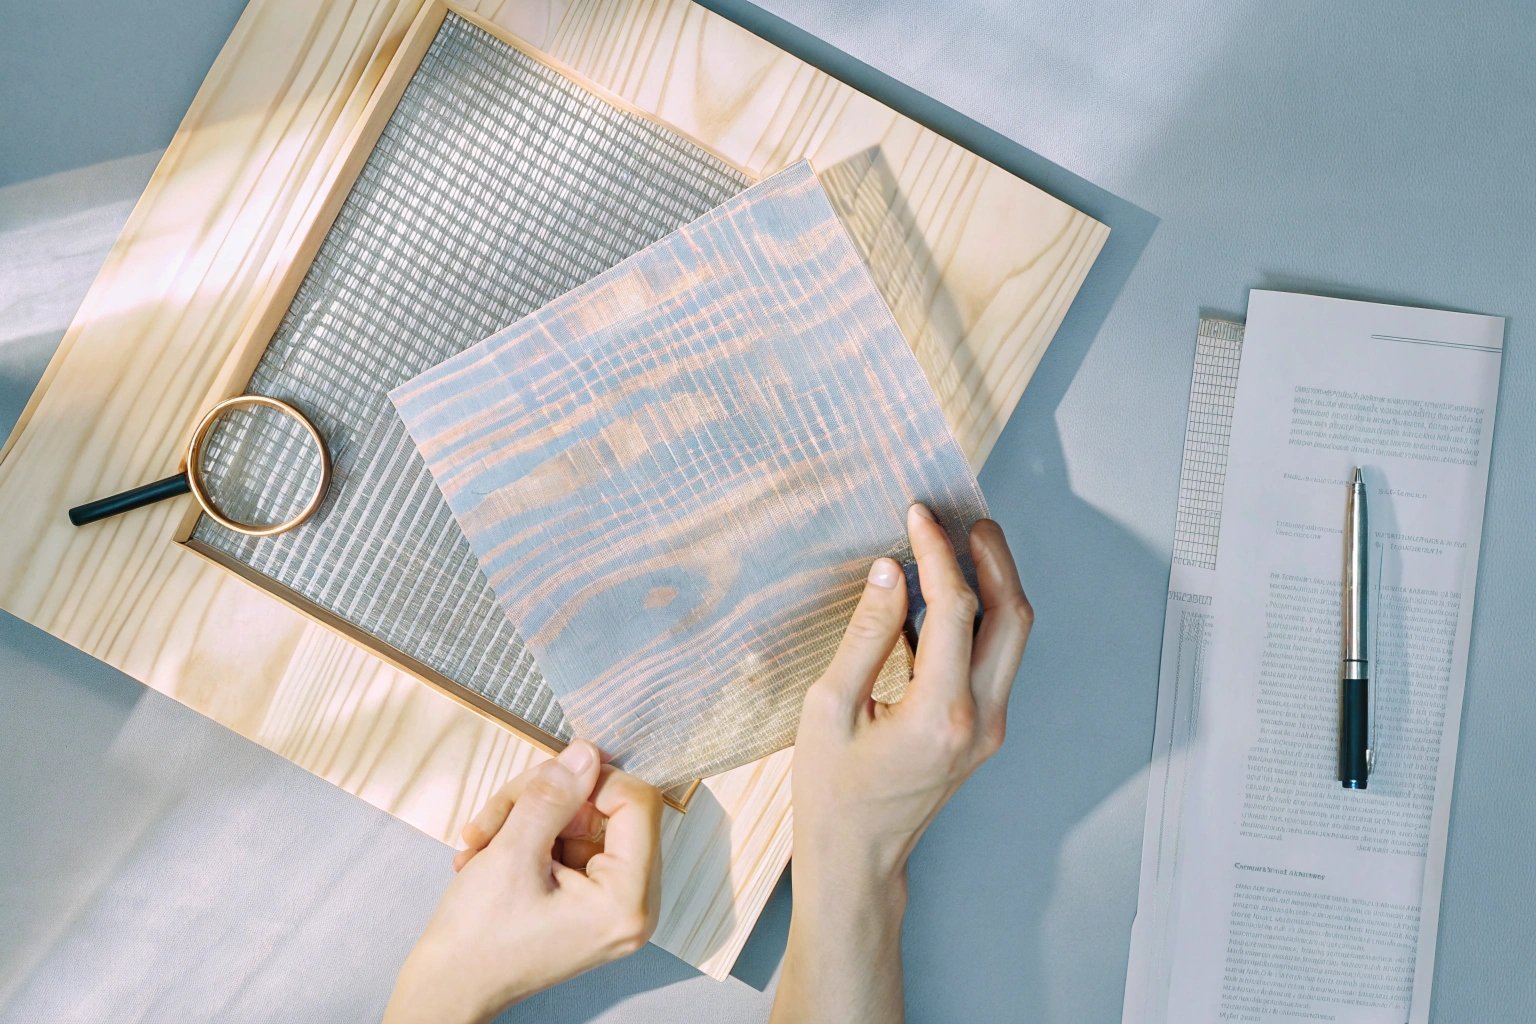
In the design world, what you see on a computer screen is rarely what you get on steel. Computer screens emit light; metal reflects light. This fundamental difference changes how colors appear. That is why proofing is an essential step in our B2B process.
The Problem with Digital Proofs
A PDF proof is good for checking spelling and layout. It checks if the barcode is in the right place. But it cannot show you the texture. It cannot show you if the gold text is readable against a silver background. I have had clients skip this step to save $300, only to find out later that their yellow logo disappeared into the background.
Our Metal Proofing Process
When you request a proof, we take a few sheets of the exact tinplate specification you ordered. We run them through the actual printing machine. We do not use a digital inkjet simulator; we use the real offset lithography press.
- Plate Making: We make the Computer-to-Plate 9 (CTP) plates just like for the big order.
- Ink Mixing: We mix the Pantone colors.
- Printing: We print a small batch, maybe 10 to 20 sheets.
- Varnishing: We apply the final gloss or matte finish.
Why It Saves You Money
You might think proofing is slow. It takes about a week. But imagine the alternative. If we print 50,000 sheets and then discover the red is wrong, we have to scrap the material. That is a loss of tens of thousands of dollars.
Also, the proof allows you to do physical tests. You can take the proof sheet and try to scratch it. You can put it in your sterilization retort to see if the color changes. You can form a sample can to see if the logo distorts near the rim. It is an insurance policy for your brand, especially when utilizing offset lithography 10 for intricate designs.
For a buyer focusing on high-quality markets like Europe or the USA, this step proves to your bosses that you have done your due diligence. It confirms that the supplier (me) and the buyer (you) are in perfect agreement before the big machines start running.
Conclusion
Yes, we can print and lacquer tinplate before shipping using advanced lines. This ensures food safety, brand consistency, and faster production for your business.
Footnotes
1. Explanation of the manufacturing process of tin-coated steel. ↩︎
2. Overview of the four-color printing model used in manufacturing. ↩︎
3. Standardized system for identifying and matching precise colors. ↩︎
4. Device used to measure light intensity and color accuracy. ↩︎
5. Metric quantifying the difference between two displayed colors. ↩︎
6. Sterilization method using heat and pressure for shelf stability. ↩︎
7. Serious illness caused by bacterial toxins in improperly canned food. ↩︎
8. Details on chemical-resistant coatings for industrial applications. ↩︎
9. Imaging technology transferring digital data directly to printing plates. ↩︎
10. Common printing technique transferring ink from plate to blanket. ↩︎