Finding a reliable supplier who can handle both steel manufacturing and high-quality printing is a challenge that keeps many sourcing managers awake at night.
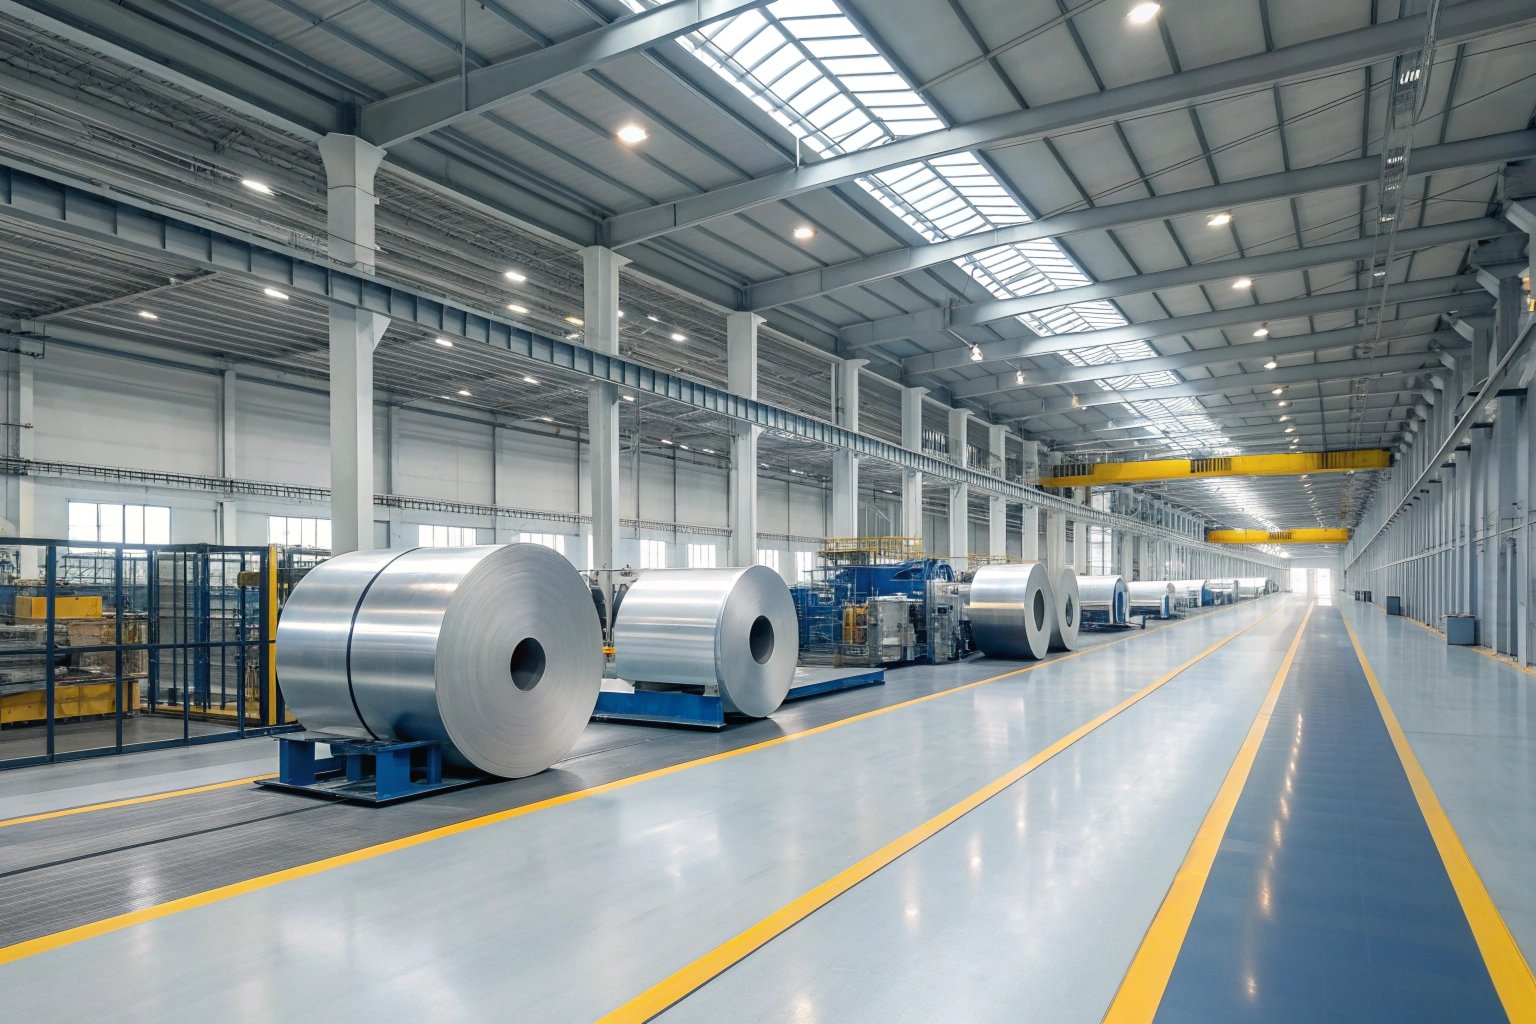
Yes, we offer comprehensive OEM printing services on our Electrolytic Tin Plate sheets. At Huajiang, we do not just manufacture the raw steel; we operate 53 advanced Fuji coating and printing lines to deliver finished, decorated sheets that are ready for your can-making lines immediately.
Let’s explore exactly how our printing process works, from your design file to the final delivery, so you can feel confident in our partnership.
Can I send my design file in AI or PDF format for you to match?
You might worry that sending digital files across the world will result in format errors or design disasters when the metal is finally printed.
We accept and prefer design files in AI (Adobe Illustrator) or high-resolution PDF formats. These "vector" files allow us to adjust the lines and layers perfectly for our metal lithography process without losing any image quality.
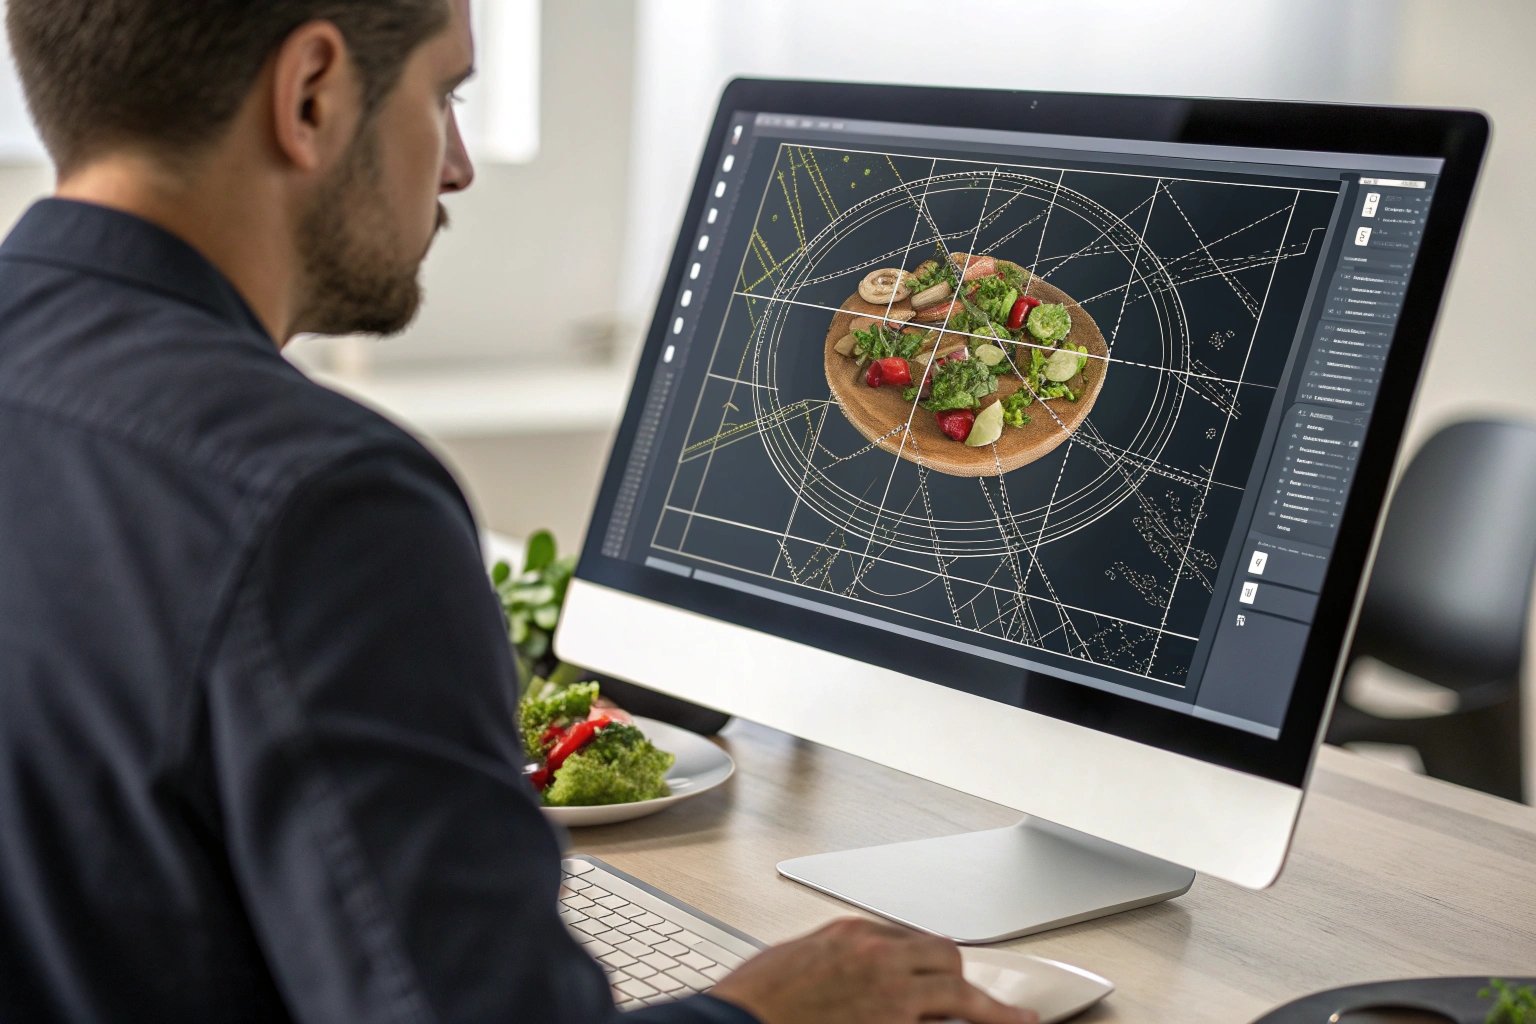
When you send us your AI or PDF files, you are providing the blueprint for our production. Printing on metal is fundamentally different from printing on paper, and understanding this difference is key to getting the result you want. Paper absorbs ink, but Electrolytic Tin Plate 1 does not. The ink must sit on top of the metal surface and then be baked in a large oven to cure. Because of this, the file you send us needs to be editable so my technical team can prepare it for this specific industrial process.
Why Vector Files are Essential
We ask for AI or PDF files because they are typically vector images 2 based. Vector images use mathematical formulas to define lines and shapes, rather than pixels. This means we can stretch a logo to fit a large industrial sheet of tinplate without it becoming blurry or pixelated. If you send a JPEG or PNG, which are made of pixels, the image often degrades when we resize it. However, if your design includes a photograph—like a picture of fresh sardines or a tomato—that part will be an image. For these photos, we need a very high resolution to ensure they look sharp on the final can.
The Pre-Press Adjustments
Once we receive your file, my pre-press department performs several critical checks. One of the most important steps is called "trapping." Since the metal sheet moves through the printing press at high speeds, there can be microscopic shifts between the different color rollers. If we do not adjust your file, you might see a tiny white gap between your red text and your blue background. My team adjusts the layers in your AI file to slightly overlap, preventing these gaps. We also handle "bleed," which is the extra color that extends beyond the cutting line to ensure there are no white edges on your final can.
File Preparation Checklist
To ensure your project moves quickly, I have put together a checklist of what my team looks for in your files.
| File Element | Requirement | Reason |
|---|---|---|
| File Format | .AI or .PDF | Allows for layer editing and scaling without quality loss. |
| Color Mode | CMYK | We print with ink (CMYK) 3, not light (RGB). Converting RGB to CMYK changes colors. |
| Resolution | 300 DPI or higher | Essential for photographic elements to appear crisp on metal. |
| Fonts | Outlined / Curves | Prevents errors if we do not have your specific font installed on our computers. |
Anamorphic Distortion for Deep Drawn Cans
If you are making a 2-piece can (like a sardine can) where the metal is stretched, we need to do even more work on your file. We apply anamorphic distortion 4. This means we intentionally stretch the image on the flat sheet so that when the metal is punched and pulled into a can shape, the image looks normal. We need your precise vector files to calculate this grid correctly.
How do you ensure the color accuracy (Delta E) between batches?
Nothing destroys a brand’s reputation faster than inconsistent packaging on the shelf; you need to know that your red logo will look the same every time.
We ensure color accuracy by using X-Rite spectrophotometers to measure the "Delta E" (color difference) and keep it within a strict tolerance of 2.0 or less. This ensures that the red on your can today matches the red on the can we print six months from now.

Color consistency is one of the hardest things to achieve in metal printing because the substrate (the material we print on) is shiny and reflective. Unlike white paper, tinplate reflects light back through the ink, which can change how a color appears to the human eye. To manage this, we combine advanced technology with strict process controls to ensure your brand identity remains protected.
The Science of Delta E
We do not rely on guesses. We use a metric called Delta E 5. This is a mathematical number that describes the distance between two colors in a 3D color space.
- If the Delta E is below 1.0, the human eye essentially cannot see the difference.
- If the Delta E is below 2.0, the difference is very subtle and acceptable for most high-end commercial packaging.
- If the Delta E goes above 3.0, a regular customer in a supermarket might notice that one can looks different from another.
At Huajiang, our quality control team scans the printed sheets during the production run. If the reading starts to drift near our limit, the machine operator adjusts the ink flow immediately.
The Importance of the White Base Coat
To get accurate colors, we almost always apply a white coating (sizing) on the bare metal before we print the design. Think of this like priming a wall before painting it. If the white coat is too thin, the grey steel color will show through and make your bright red logo look dark and muddy. We strictly control the weight of this white film to ensure it provides a clean, neutral canvas for your artwork. This is a critical step that some cheaper suppliers might rush, leading to poor color vibrancy.
Visual Checks Under Controlled Lighting
Machines are great, but the human eye is still the final judge. However, eyes can be tricked by lighting. A can might look perfect under the yellow lights of a warehouse but look wrong under the white lights of a grocery store. This is called metamerism 6. To prevent this, my quality team checks samples in a light booth that simulates three different environments: Daylight (D65), Store Light (TL84), and Home Light (A).
Tolerance Targets by Design Type
We set different targets depending on what is being printed, as shown below.
| Design Element | Target Delta E | Why? |
|---|---|---|
| Brand Logos | < 1.5 | Companies are very sensitive to their specific brand color. |
| Solid Backgrounds | < 2.0 | Large blocks of color show variations very easily. |
| Photographs | < 2.5 | Slight shifts in the color of a fruit or vegetable are less noticeable to the eye. |
We also keep "retain samples" from every single batch in a dark, climate-controlled room. When you place a repeat order a year later, we pull out the physical sample from the last run and match the new production to that master sample, ensuring long-term consistency.
Is there a setup fee for making new printing plates for my brand?
Unexpected costs can kill a project’s budget, so you naturally want to understand if there are hidden fees for setting up your unique designs.
Yes, there is a one-time setup fee for creating the CTP (Computer-to-Plate) printing plates, but for orders exceeding a certain tonnage, we often waive this fee completely. Once the plates are made, they can be reused for future orders until they wear out.
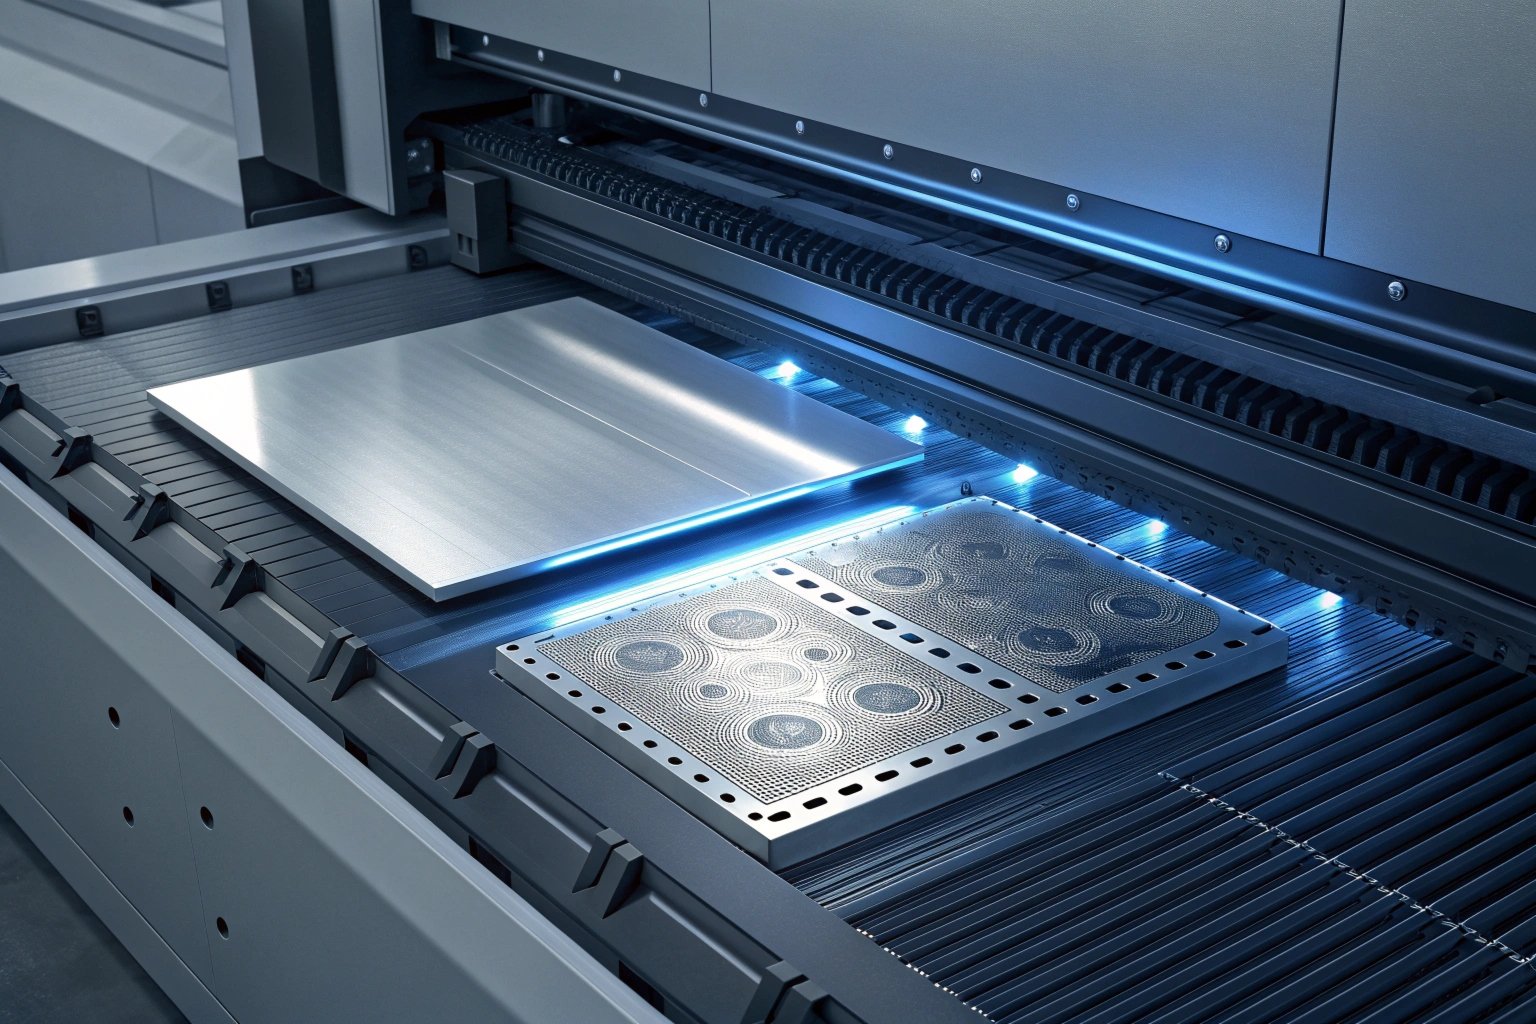
To understand this cost, it helps to understand the technology we use. We use offset lithography 7, which requires physical plates for every color in your design. These are not digital files; they are physical aluminum sheets that are laser-engraved with your image. This process is called Computer-to-Plate 8 (CTP).
Breakdown of the Plate Cost
For a standard design, we separate your image into four basic colors: Cyan, Magenta, Yellow, and Black (CMYK). This means we need to make four separate plates. If your design has a special "Spot Color"—like a specific Coca-Cola red or a Starbucks green—that requires an extra fifth plate. If you want a matte finish on part of the can and a glossy finish on another, that requires a coating plate.
The setup fee covers the cost of the raw aluminum material and the laser imaging time. It is a real, physical cost for us to start the job.
When We Waive the Fee
I know that nobody likes paying extra fees. That is why we have a volume policy. If you are placing a trial order of just a few tons, we have to charge the fee to cover our costs. However, if you are ordering a full container or if your total volume reaches a standard threshold (typically around 20 to 30 tons depending on the complexity), I can usually get approval to waive these plate costs for you. We view this as an investment in our long-term relationship.
Plate Lifespan and Maintenance
Once you have paid for the plates (or we have waived them), they are reserved for your products. We clean them and store them carefully. However, plates do not last forever. The friction of the printing press eventually wears them down.
Types of Plates and Durability
We offer different types of plates depending on how many cans you plan to produce.
| Plate Technology | Estimated Impressions | Best Used For |
|---|---|---|
| Standard CTP | 50,000 – 80,000 sheets | Seasonal products or trial runs. |
| Baked CTP | 200,000+ sheets | High-volume, regular items (e.g., tomato paste, sardines). |
For "Baked CTP," we put the aluminum plate in an oven to harden the emulsion. This makes it last much longer. If your plates wear out because you have ordered so much product (which is a good problem to have!), we typically replace them at our own expense. The only time you would pay again is if you change your design. Even a small change, like updating a phone number or adding a "New Flavor" icon, requires us to make a completely new set of plates.
Can you print a sample sheet for my approval before the full run?
Committing to a full container without seeing a physical sample is risky, and I know you want to verify the quality with your own eyes first.
We can produce a physical metal proof (often called an "Iron Print") for your final approval. While this process has a higher unit cost than mass production, it is the only 100% accurate way to verify how the ink interacts with the tinplate and the coating.
I always tell my clients that spending a little time and money on a sample can save a fortune later. If there is a mistake in the text or if the gold color looks too brown, it is much better to find out on a single sheet than on 50,000 sheets.
The Challenge of Metal Proofing
In the paper world, printing a sample is easy—you just print one copy. In the metal world, it is difficult. Our printing lines are massive, over 30 meters long. To print just one sheet, we have to set up the machine exactly as if we were running a massive order. We consume ink, energy, and setup time. Because of this high "start-up" effort, the cost for a metal proof 9 is higher than people expect. However, it is an essential insurance policy for new designs.
Two-Step Approval Process
To make this easier, we usually follow a two-step process:
- Digital/Paper Proof: First, we send you a digital file or a high-quality paper print. This is free. You use this to check the spelling, the barcode numbers, and the layout.
- Metal Proof: Once the paper proof is approved, we make the "Iron Print." This is the actual metal sheet printed with your design.
What You Should Test
When you receive the metal sample, you should do more than just look at it. You need to test it in your factory.
- Retort Test (Sterilization): This is the most critical test for food cans. You should take the printed sheet and put it through your sterilization or cooking process. Some inks can change color or fade under high heat and steam. We use special heat-resistant inks, but you must verify this with your retort test 10 specific equipment.
- Forming Test: Try to stamp a lid or form a can body from the sample sheet. Does the varnish crack? Does the ink peel off at the bend?
- Chemical Resistance: If your product is acidic (like pineapple) or high in sulfur (like meat), you need to make sure the internal coating on the sample protects the metal correctly.
Shipping and Timing
Producing a metal proof usually takes about 7 to 10 days after you sign off on the paper proof. We then ship it to you via DHL or FedEx. While this adds about two weeks to your total lead time, it gives you peace of mind. You can hold the product in your hand, show it to your marketing team, and give us the final "green light" with total confidence.
Conclusion
We have the technology, the expertise, and the systems to handle your OEM printing needs seamlessly. From fixing your AI files to guaranteeing color consistency and offering physical proofs, we reduce your risk every step of the way. If you are ready to see your brand on our high-quality tinplate, send me your artwork today for a free assessment.
Footnotes
1. Definition and properties of Electrolytic Tin Plate (ETP). ↩︎
2. Understanding why vector files are best for large-scale printing. ↩︎
3. Technical breakdown of the CMYK subtractive color model. ↩︎
4. Techniques for distorting images to fit curved 3D surfaces. ↩︎
5. How Delta E metrics quantify human color perception. ↩︎
6. Why colors appear different under various lighting conditions. ↩︎
7. Detailed explanation of the offset lithography printing process. ↩︎
8. Overview of Computer-to-Plate (CTP) imaging technology. ↩︎
9. Importance of prototyping in metal packaging design. ↩︎
10. Thermal processing methods for ensuring food safety. ↩︎