I know the feeling of staring at a specification sheet and wondering if you are making the right call. You are worried about "swollen cans" or shelf-life failures that could ruin your brand’s reputation. I have spent years helping buyers like you navigate these exact choices.
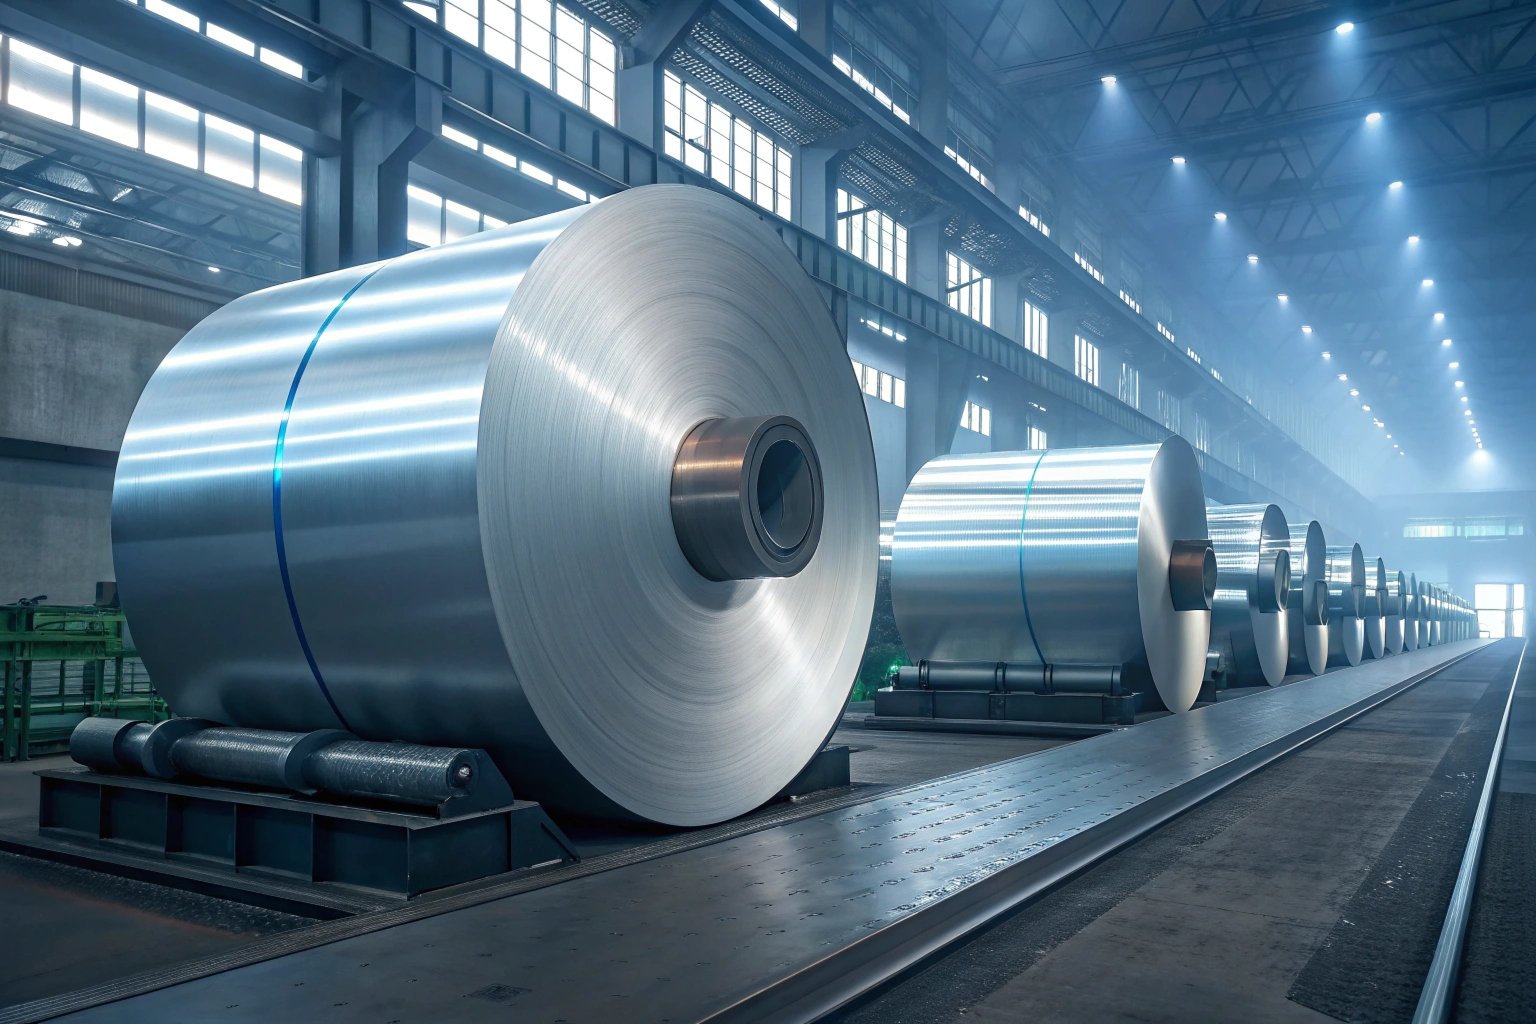
To choose the correct Electrolytic Tin Plate (ETP) for tuna cans, select MR grade base steel with a temper of T2-T3 for 3-piece bodies or DR8 for shallow 2-piece cans. The tin coating should generally be 2.8/2.8 g/m² or higher, always paired with a sulfur-resistant internal lacquer to prevent black sulfide stains from fish protein.
Selecting the right grade is not just about checking a box; it is about balancing safety with cost. If you get the temper wrong, your cans might crack during production. If you ignore the lacquer, your tuna turns black. Let me walk you through the specific technical details so you can order with total confidence.
Is DR8 (Double Reduced) material suitable for shallow tuna cans?
I often hear buyers ask if they can switch to Double Reduced 1 (DR) material to save money, but they are terrified of the metal cracking. It is a valid fear, but if you understand the limits of the material, you can save a significant amount on your raw material costs.
DR8 (Double Reduced) material is highly suitable for shallow-draw 2-piece tuna cans and welded 3-piece can bodies due to its high strength and cost-effectiveness. However, it is not recommended for deep-draw cans because its lower ductility increases the risk of fracturing during the forming process.

When we talk about Double Reduced (DR) material, we are talking about steel that has been cold-rolled twice. This process makes the steel much harder and stronger, but also less flexible. For a product like a standard shallow tuna can (often called a "club can" or a standard round shallow can), DR8 is actually a fantastic choice. It allows you to use a thinner gauge, which means you get more cans per ton of steel.
Understanding the Trade-off
The main challenge with DR8 is something we call ductility 2. If you try to stretch this metal too deep, it will tear. For shallow cans, the "draw ratio" (how deep the can is compared to its width) is low enough that DR8 handles it perfectly. However, if you are making a taller can in a single press operation, you should stick to Single Reduced (SR) tempers like T3 or T4.
The "Springback" Factor
Another thing I tell my clients to watch out for is "springback." Because DR material is stiffer, it wants to return to its original flat shape after you roll it. If your machinery is old or set up for softer steel, you might find that the cans are not perfectly round. We usually advise our clients to adjust their seaming rollers slightly when switching from T3 to DR8.
Matching Temper to Content Type
Believe it or not, the physical form of your tuna matters here.
- Solid Pack: Requires a vacuum during sealing. A stiffer body (DR8) resists the vacuum pressure better, preventing the can from paneling (collapsing inward).
- Chunk/Flake: Often has less vacuum pressure. You might get away with a slightly softer temper, but DR8 remains the standard for cost savings.
Here is a quick reference guide I use when advising clients on temper selection:
| Can Construction Type | Recommended Temper | Why? |
|---|---|---|
| 2-Piece Shallow Draw | DR8 (approx. 550 MPa) | Best strength-to-weight ratio. Resists dents. |
| 2-Piece Deep Draw | T2 or T3 (SR) | High ductility prevents cracking during deep stretching. |
| 3-Piece Welded Body | DR8 or T4 | Provides necessary rigidity for the body cylinder. |
| Can Ends/Lids | T3 or T4 | Needs to be stiff enough to hold the seal but soft enough for the EOE score line. |
By choosing DR8 for the right application, you are effectively "downgauging." You can drop from a 0.20mm thickness to 0.17mm or 0.18mm without losing structural integrity. In a high-volume business like canned food, that 10-15% material saving goes straight to your bottom line.
Do I need a specific sulfur-resistant lacquer for fish protein?
I have seen entire containers of tuna rejected at the port because of internal black spots. It is heartbreaking because the tuna was fine, but the can looked spoiled. This is almost always a failure of the coating strategy, not the steel itself.
Tuna is a high-protein food that releases sulfur compounds during sterilization, which reacts with tin to form black tin sulfide. Therefore, a specialized sulfur-resistant lacquer, such as phenolic epoxy or aluminized coating, is absolutely mandatory to ensure food safety and visual appeal.
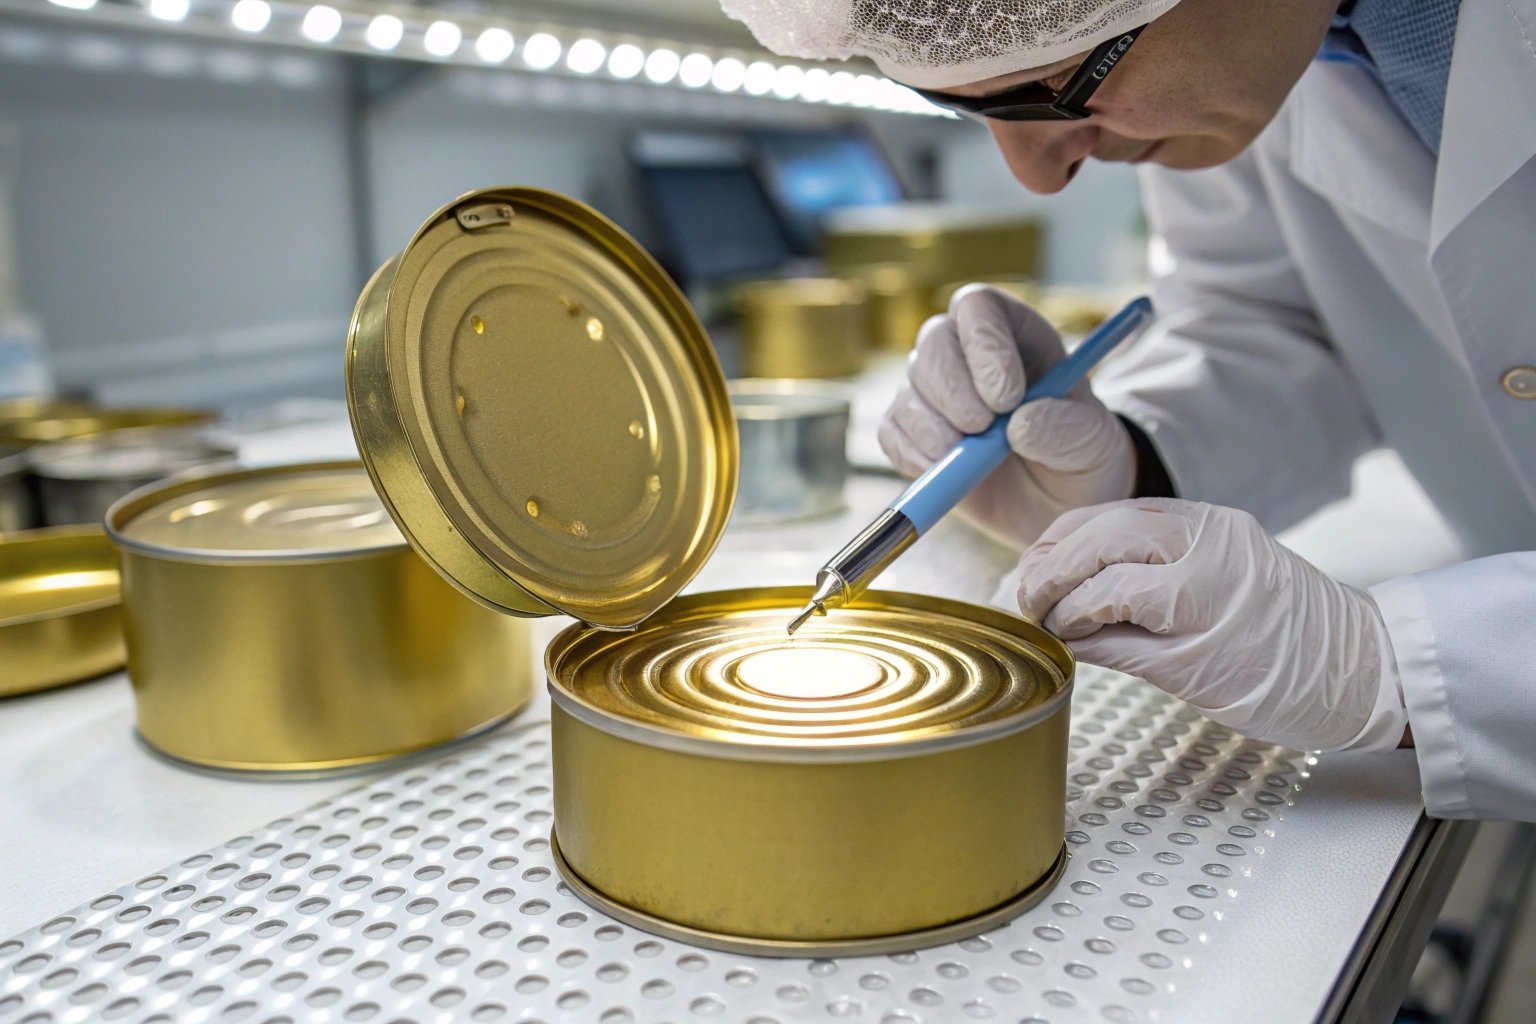
When you cook tuna in the can (the retorting process 3), the proteins break down slightly and release sulfur. If this sulfur touches bare tin, it creates a chemical reaction. The result is "sulfide staining"—ugly black or purple splotches on the can wall or the food itself. While it might not kill you, no consumer will eat it, and the FDA or EU inspectors will flag it immediately.
The Chemistry of the Coating
To stop this, we need a barrier. Standard gold lacquers are not enough. We typically recommend "Aluminized" lacquers or specific "Phenolic" resins. These coatings often contain additives like Zinc Oxide 4 (ZnO). The Zinc acts as a "scavenger." It catches the sulfur ions before they can attack the tin. The sulfur turns the Zinc white (which is invisible in the coating) rather than turning the Tin black.
Customizing for Your Recipe
Not all tuna is the same. I always ask my clients, "What is the liquid inside?" The acidity (pH) and salt content change the rules completely.
- Water/Brine: This is aggressive. You need a solid barrier.
- Oil: Oil is actually protective. It coats the metal. But you still need resistance to the sulfur from the fish itself.
- Tomato/Sauces: This is the danger zone. The acid attacks the coating, and the sulfur attacks the tin. You need the highest spec here.
Surface Passivation: The Invisible Shield
Before we even apply the lacquer, the raw tinplate needs a treatment called passivation 5. For tuna, we typically use Passivation 311 (Chromium treated). It provides a stable surface for the lacquer to stick to. If the lacquer peels off (delamination), the sulfur will attack the metal underneath immediately.
Here is how I breakdown the coating requirements based on the specific product:
| Tuna Product Type | pH Level | Recommended Coating System | Key Risk |
|---|---|---|---|
| Spring Water / Brine | 5.8 – 6.2 | Aluminized Epoxy Phenolic | Sulfur staining. Requires good barrier. |
| Oil Soak (Olive/Sunflower) | > 6.0 | Epoxy Phenolic | Oil permeating the coating. |
| Tomato Sauce / Spicy | < 5.5 | High-Performance Organosol / Vinyl | Acid corrosion + Sulfur. High risk of "hydrogen swelling". |
Critical Warning on "Sulfide Blackening"
If you are buying from a supplier who does not understand "sulfide resistance," you are gambling. At Huajiang, we perform a "wades test" and sterilization simulation on our lacquered sheets before we ship them. We simulate the retort process to ensure that when your customer opens the can two years later, it looks as fresh as the day it was sealed.
Can you supply the Easy Open Ends to match the tuna can body?
Nothing frustrates me more than seeing a client struggle because their can body supplier blames the lid supplier for leakage, and the lid supplier blames the body supplier. Managing two different tolerances is a recipe for disaster.
Sourcing Easy Open Ends (EOE) from the same manufacturer as the can body material ensures precise dimensional compatibility and sealing performance. A single supplier can match the flange parameters and steel grade, significantly reducing the risk of leakage or seaming defects.
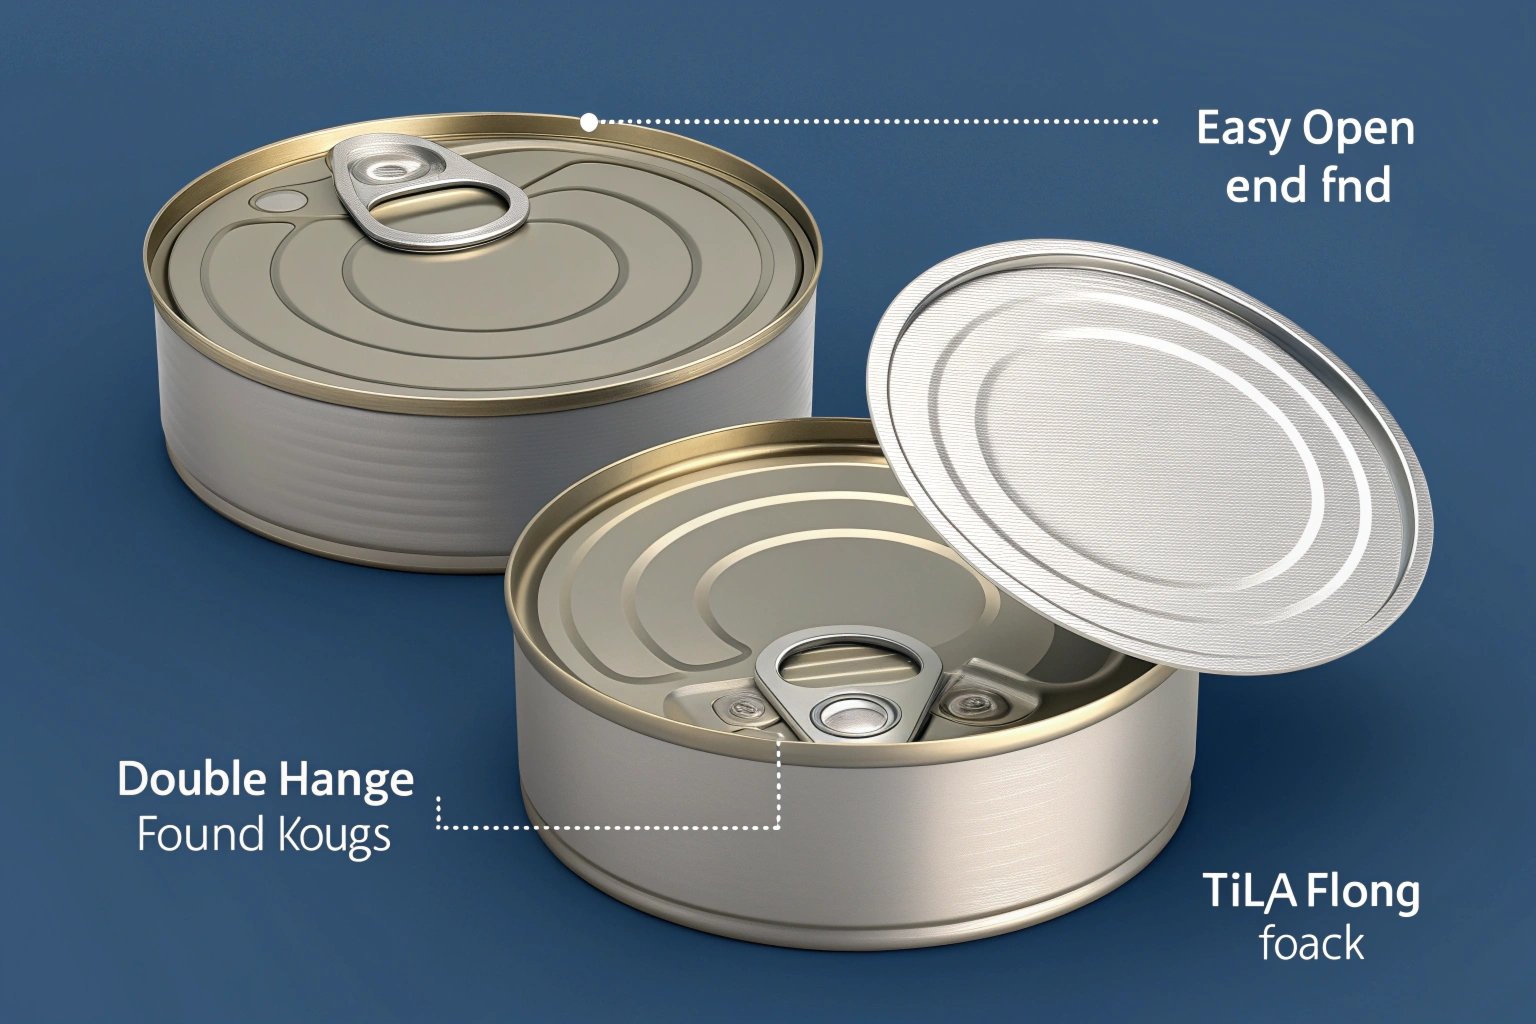
In the metal packaging world, the "double seam" is everything. This is where the lid hooks onto the body. If the steel grade of the lid is too hard compared to the body, or if the dimensional tolerance is off by even a fraction of a millimeter, the seam will fail. Bacteria enters, the can swells, and you have a recall on your hands.
The Problem with Mixed Sourcing
When you buy tinplate sheets from one factory and Easy Open Ends 6 lids from another, you create a gap in accountability.
- Scenario: The seaming machine jams.
- Lid Supplier says: "Your can body flange is too thick."
- Body Supplier says: "Your lid curling is too tight."
- Result: You are stuck in the middle with a stopped production line.
The "One-Stop" Technical Advantage
When we produce both the printed sheets for the body and the lids, we calibrate them together. We know exactly how our specific batch of steel behaves.
1. Hardness Matching: We ensure the body temper (e.g., DR8) works perfectly with the End temper (e.g., T4). The body needs to withstand the axial load 7 of the seamer without collapsing.
2. Coating Consistency: If the body has a gold internal lacquer and the lid has a clear lacquer, it looks unprofessional. We match the interior and exterior shades perfectly so your brand looks premium.
3. Corrosion Warranty: If the can fails, there is one phone call. We take responsibility for the entire package.
Understanding EOE Specs
For tuna, the most common sizes are 307 (83mm), 300 (73mm), and the smaller 211 (65mm). But beyond size, you must look at the "Score Line." This is the cut in the lid that allows it to open.
- Too Deep: The lid opens easily, but might pop open accidentally if the can is dropped.
- Too Shallow: The ring pull breaks off in the customer’s hand.
We use high-precision scoring equipment to maintain a "residual thickness" tolerance of ±5 microns. This ensures a smooth open every time. Furthermore, for the European and American markets, we use BPA-NI 8 (Non-Intent) coatings on all our ends to meet the strictest safety regulations.
What is the most cost-effective gauge for 2-piece tuna cans?
In this business, margins are counted in fractions of a cent. I see many buyers over-specifying their material, paying for thickness they do not need. On the other hand, going too thin can lead to disaster on the filling line.
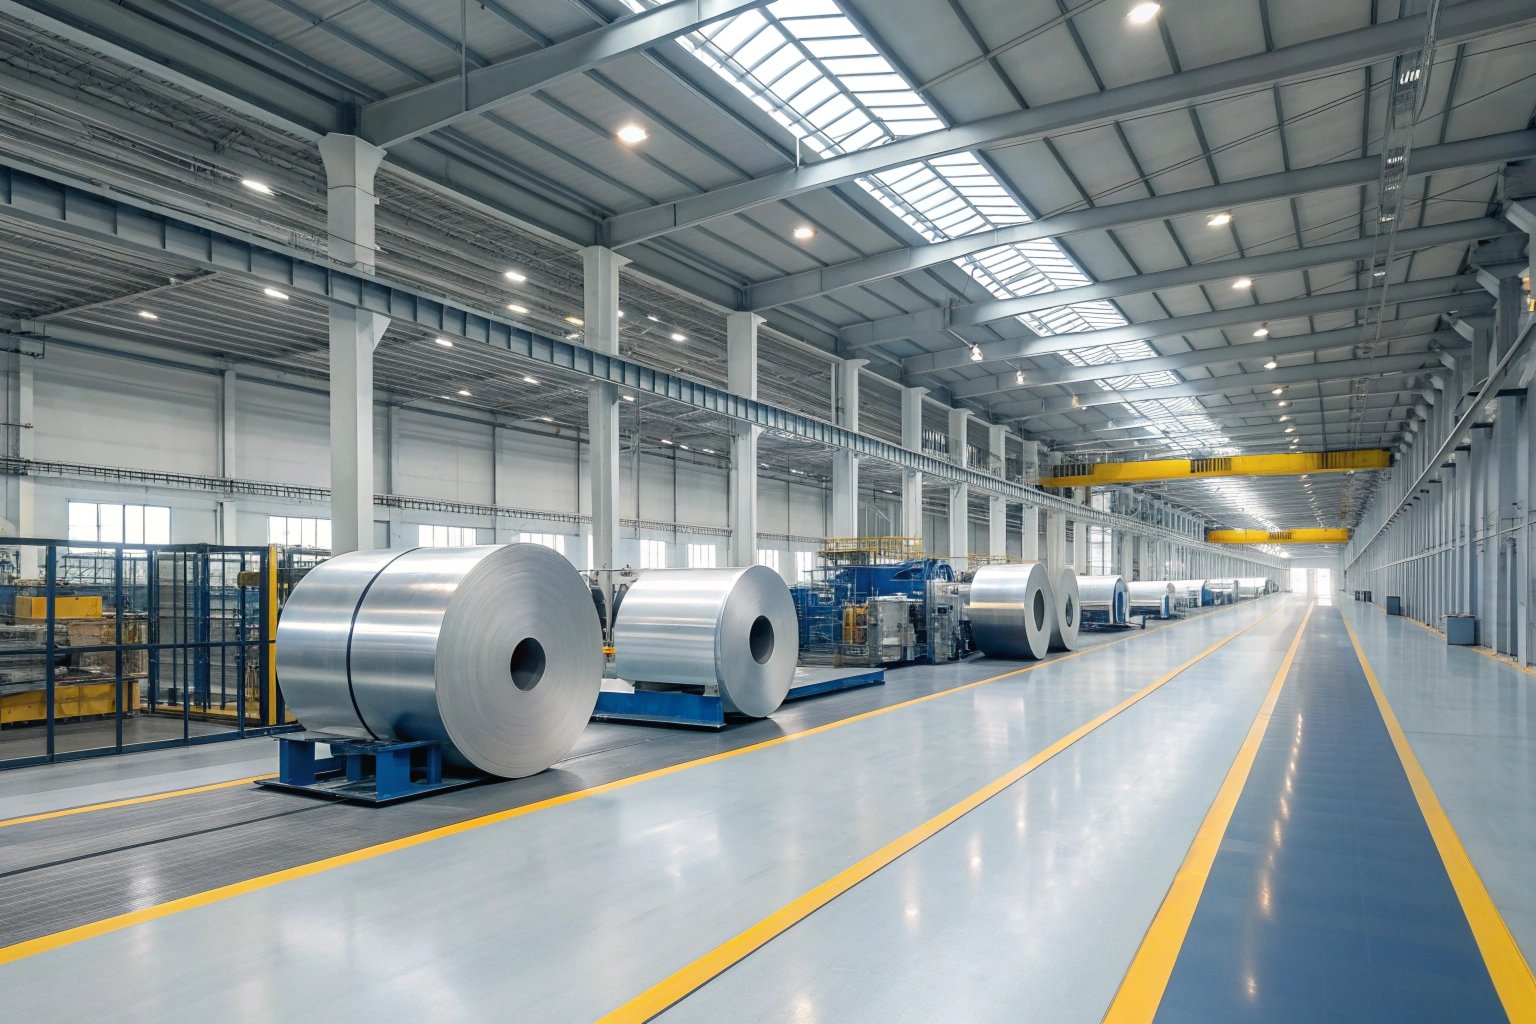
The most cost-effective gauge for standard 2-piece tuna cans typically falls between 0.18mm and 0.23mm, depending on the can diameter. Using Double Reduced (DR) steel allows for thinner gauges without sacrificing strength, offering the best balance between material cost and performance.

Finding the "sweet spot" for thickness is an art. Steel is sold by weight (per ton), but you use it by surface area (per can). Therefore, the thinner the steel, the more cans you get from one ton. If you can move from 0.22mm to 0.19mm, you instantly reduce your material cost by roughly 13%.
The Risks of Going Too Thin
However, you cannot just choose the thinnest option. If the can is too thin:
1. Denting: It will dent easily during transport. Supermarkets will reject dented cans.
2. Axial Load Failure: When you stack pallets of cans five meters high in a warehouse, the bottom cans must support a huge amount of weight. If the walls are too thin, they buckle.
3. Flanging Cracks: If the metal is thin and hard (DR8), the flange (the lip of the can) might crack during the seaming process.
Strategic Downgauging
The industry trend is "downgauging." Ten years ago, a standard tuna can was 0.24mm. Now, with better steel technology (like the continuous annealing 9 lines we use at Huajiang), we can achieve the same strength at 0.18mm.
Leveraging Stock for Stability
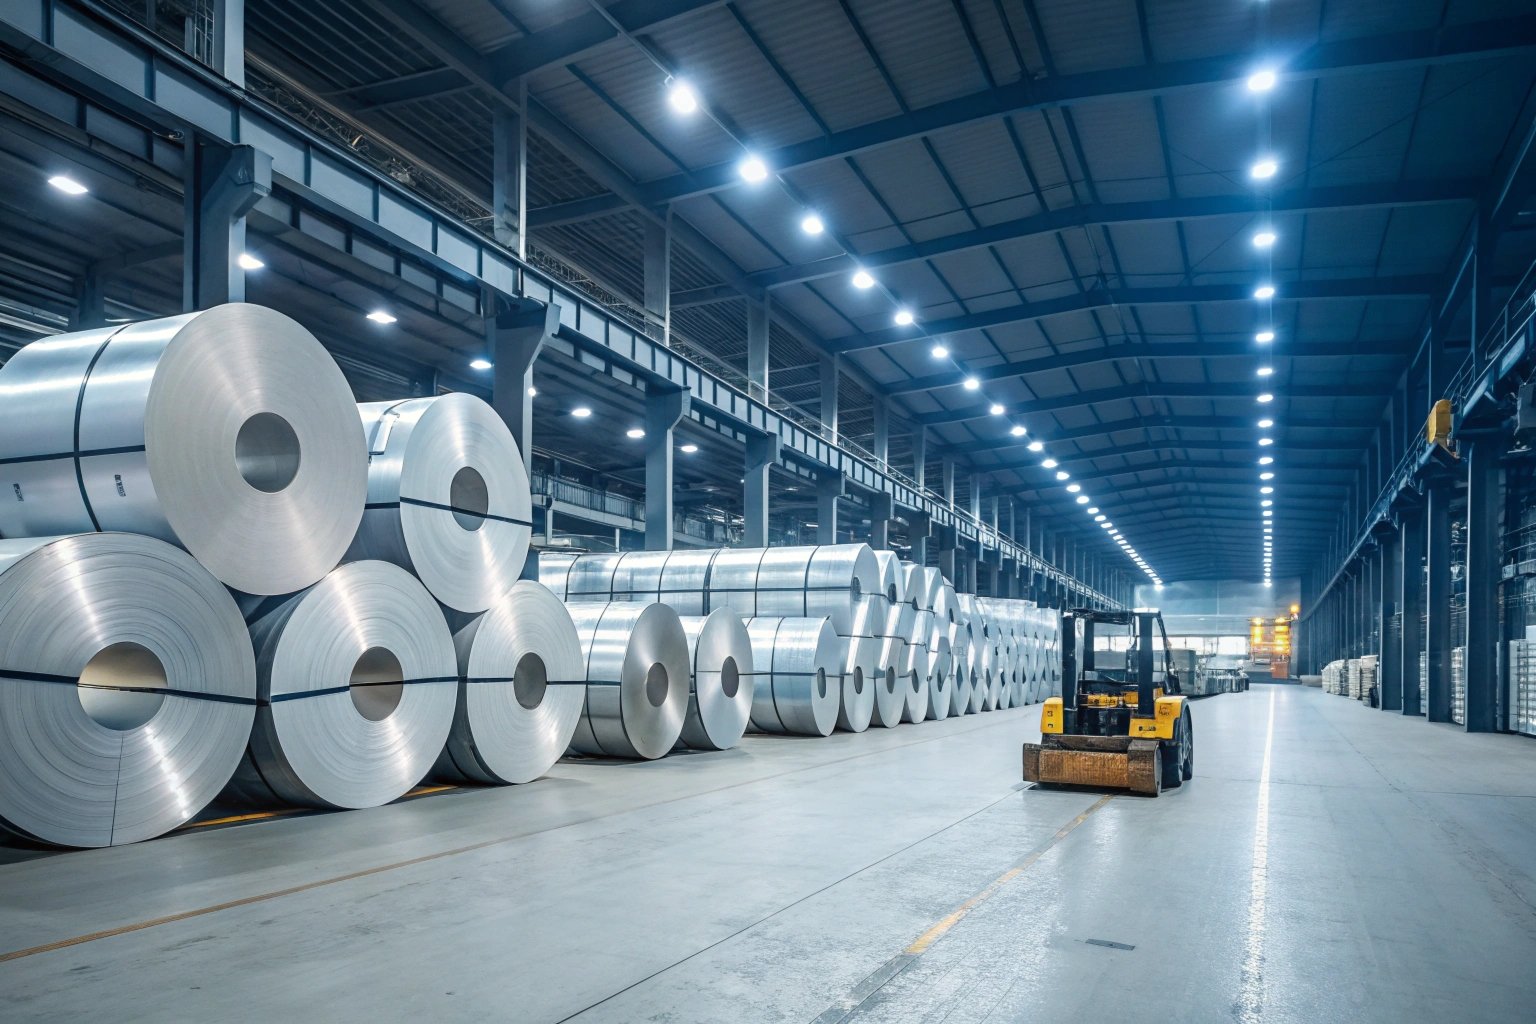
Price volatility is another cost factor. Steel prices change every week. This is where working with a supplier with large inventory 10 helps. Because we hold 100,000 tons of coil in stock, we can offer a stable price even when the market spikes. We can also mix sizes in a container, allowing you to test a thinner gauge (e.g., 5 tons of 0.18mm) alongside your standard order (e.g., 20 tons of 0.20mm) to see if it works on your line without risking a full shipment.
Here are the standard ranges I recommend to balance safety and cost:
| Can Size / Format | Standard Gauge (Safe) | Optimized Gauge (Cost Saver) | Condition for Savings |
|---|---|---|---|
| Club Can (125g) | 0.22 mm | 0.19 mm | Requires DR8 Temper. |
| Round 307 (185g) | 0.20 mm | 0.17 mm | Requires strict vacuum control. |
| Large Catering (1.8kg) | 0.26 mm | 0.24 mm | Must have beading on can wall. |
My Advice on Testing
Do not switch gauges overnight. Ask your supplier for "trial sheets." Run 500 cans through your seamer and retort. Check for "peaking" (pressure damage) or seal defects. Once you validate the thinner gauge, you lock in that savings for years.
Conclusion
Choosing the right tinplate for tuna cans requires balancing three things: the strength of the steel (Temper), the chemical protection (Coating), and the physical dimensions (Gauge). You need a supplier who offers MR grade steel, precise DR tempers, and certified sulfur-resistant lacquers. Do not compromise on the internal coating, or you risk the safety of your food. By carefully selecting a thinner but stronger DR material, you can protect your margins without sacrificing quality.
Footnotes
1. Technical specifications of double reduced steel for packaging. ↩︎
2. Scientific definition of material deformation under tensile stress. ↩︎
3. Guidelines on thermal processing and sterilization for food. ↩︎
4. Role of ZnO additives in corrosion protection coatings. ↩︎
5. Explanation of treating metal surfaces to reduce reactivity. ↩︎
6. Overview of ring-pull mechanisms for metal packaging. ↩︎
7. Understanding force application along an axis in engineering. ↩︎
8. Regulatory standards for non-intent BPA food contact coatings. ↩︎
9. How heat treatment processes alter steel hardness properties. ↩︎
10. Strategic importance of stock management in supply chains. ↩︎