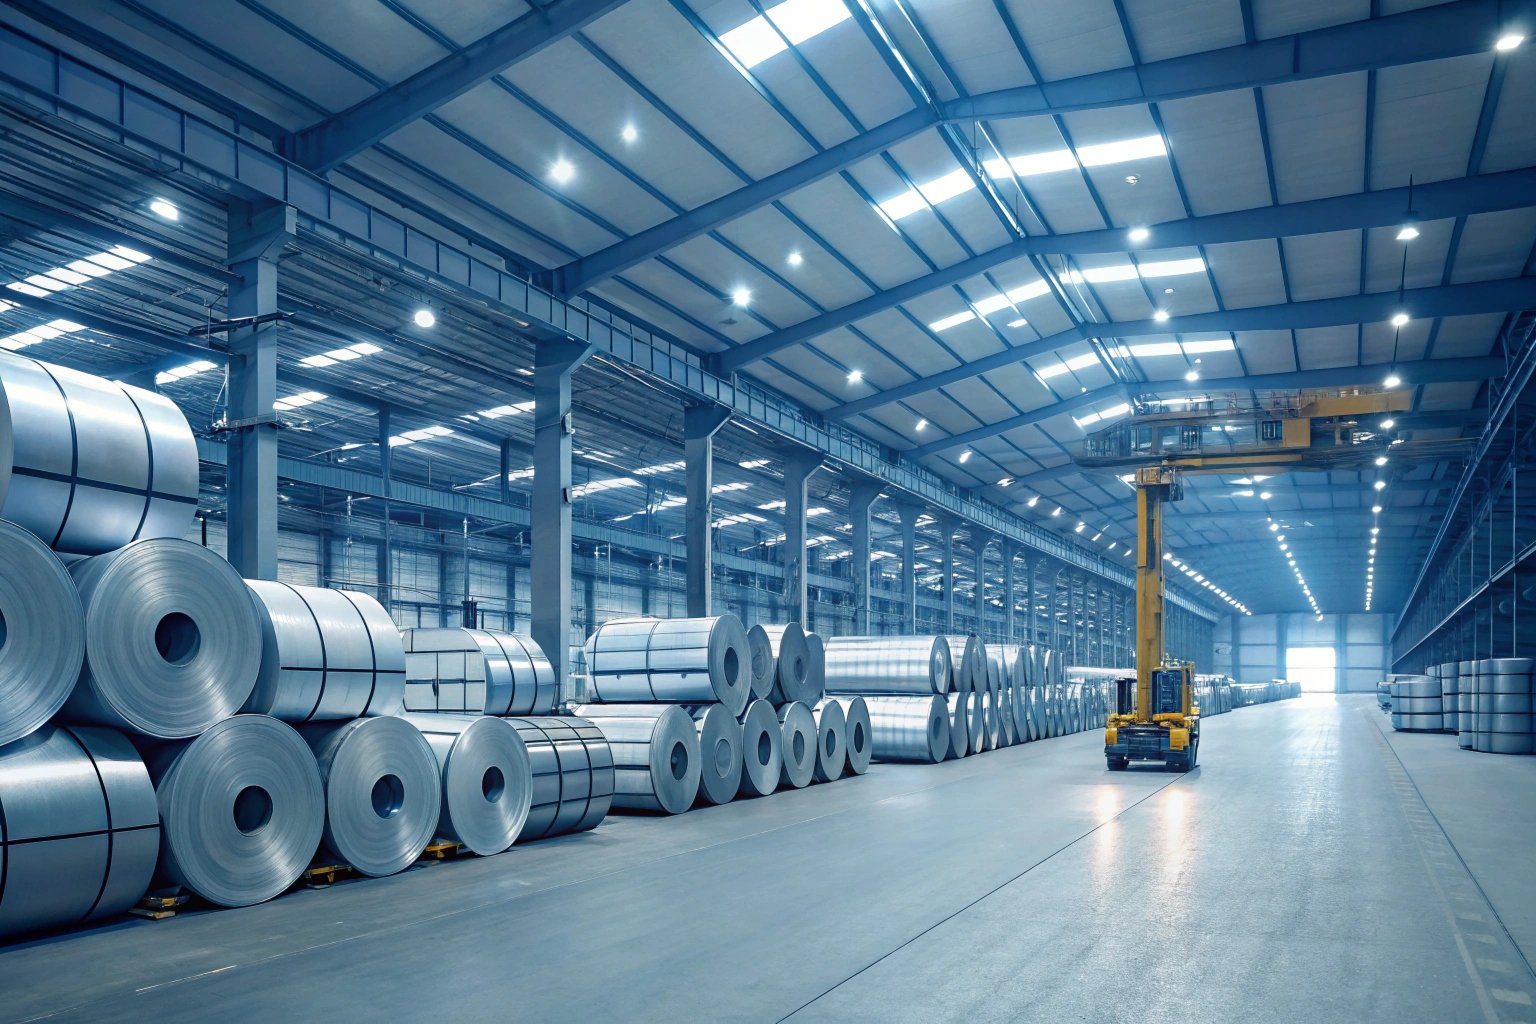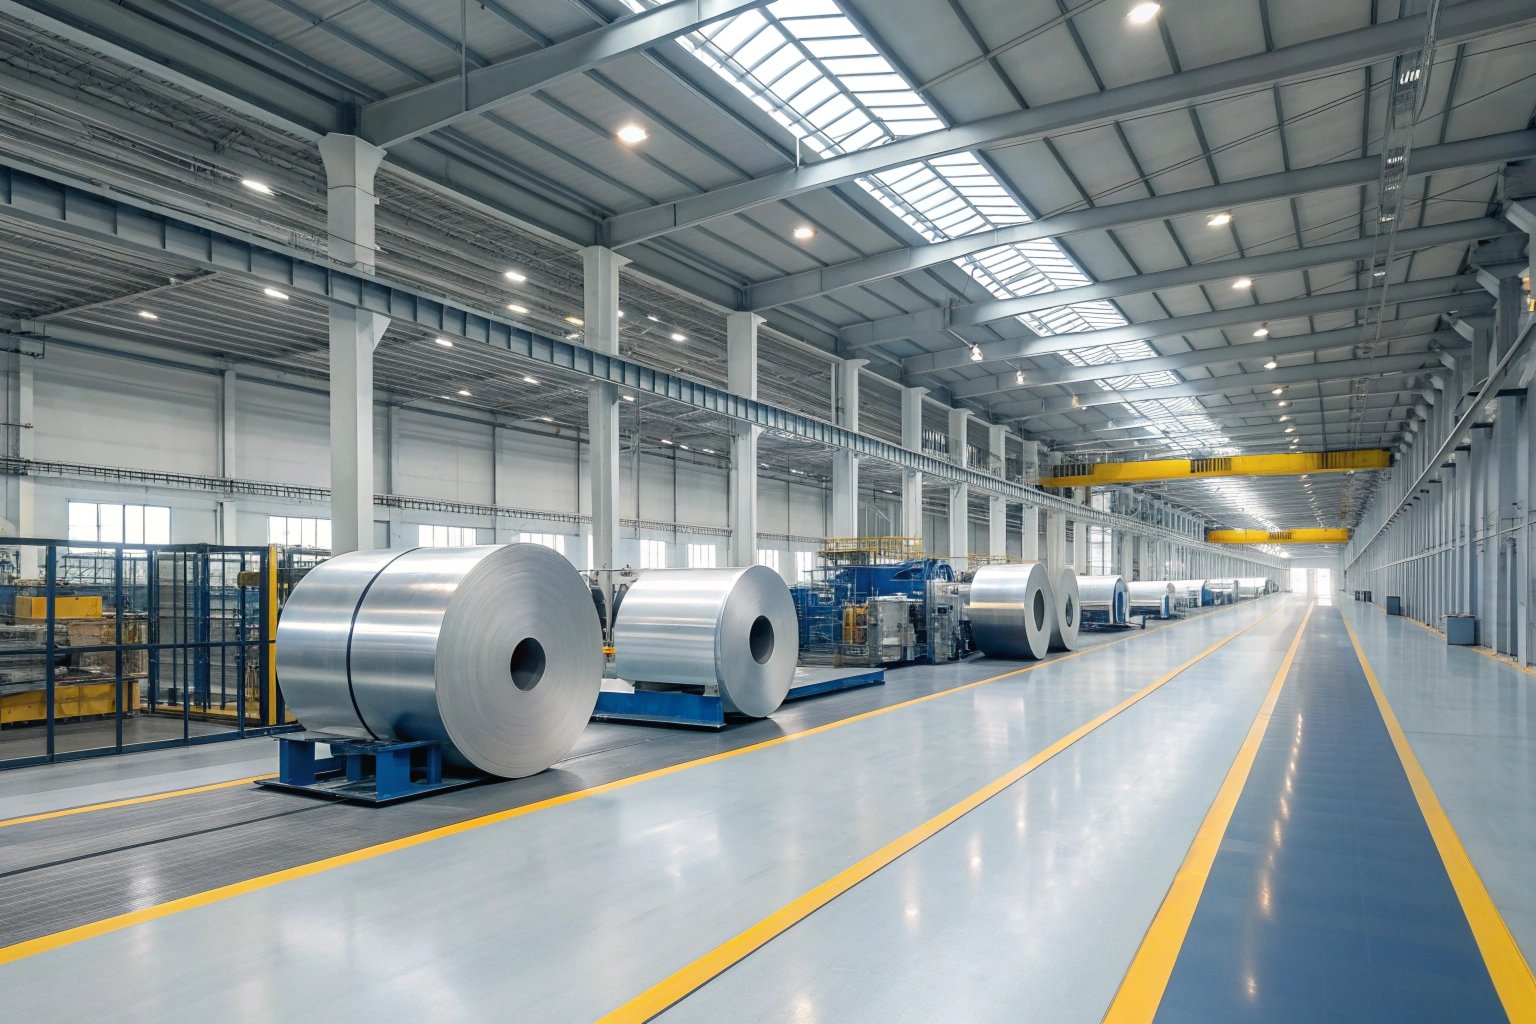
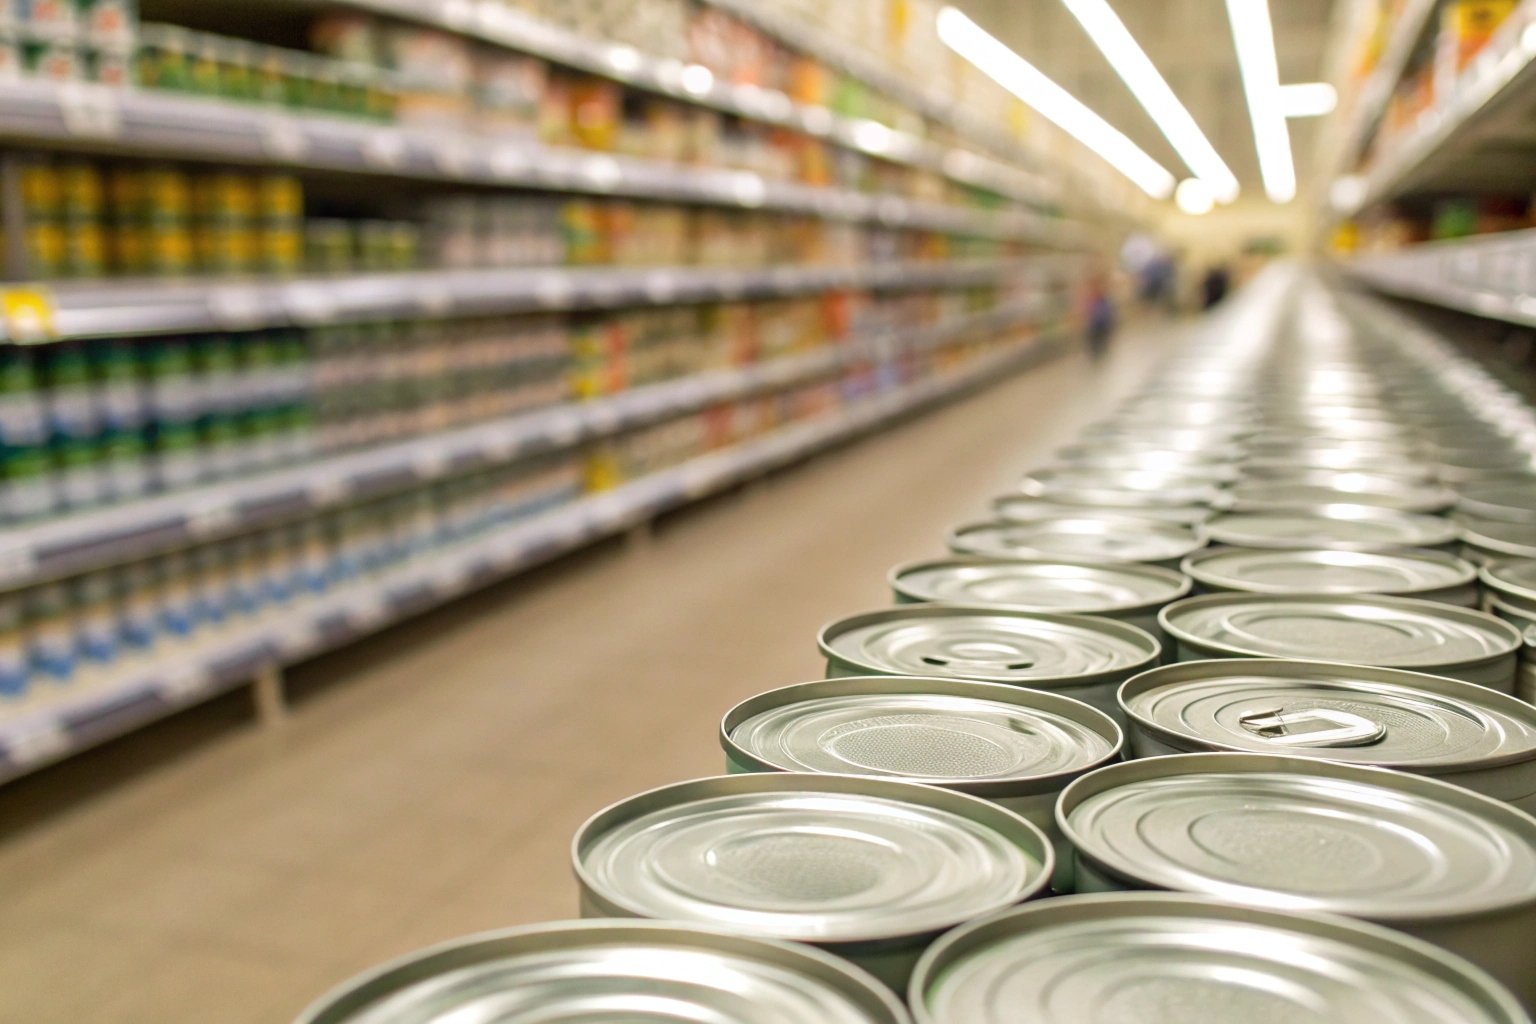
I know the sinking feeling of walking into a warehouse and seeing a leaning stack of pallets. When bottom ends fail, it is not just a waste of metal; it is a halt in production and a blow to your reputation with buyers.
Selecting the right temper depends entirely on your specific can size and processing method. T3 suits heavy-duty large cans, T4 offers the best balance for standard food cans, and DR (Double Reduced) is ideal for cost-saving, lightweight designs that require high strength.
Let’s dig into the technical details so you can stop guessing and start securing your supply chain.
How does the temper selection affect the durability of my cans?
Have you ever had a client reject a shipment because the cans arrived dented or collapsed? I have seen this happen, and it is usually because the steel was too soft to handle the weight of stacking.
Temper directly dictates the steel’s hardness and its ability to resist deformation. Higher tempers like DR8 resist external pressure but have lower ductility, while lower tempers like T3 absorb impact better but may dent. The right choice ensures your cans survive filling, sterilization, and transport.

To really understand durability, we have to look beyond the basic definition of "hard" and "soft." In our factory, when we talk about temper, we are talking about the steel’s mechanical behavior under stress. We measure this using the Rockwell 30T scale 1. It is a specific test where a machine presses a diamond cone into the metal surface. The result gives us a number, like 57 or 61. But for you, the buyer, that number represents a trade-off.
If you choose a temper that is too low, like T1 or T2, the metal is very ductile. It is easy to shape. However, it lacks structural memory. Imagine a heavy pallet of canned tomatoes sitting in a hot container for three weeks at sea. If the bottom end is made of soft T3 (or lower) metal and the can wall is thin, the constant vibration and weight will cause the bottom to sag or the "beads" (ridges) to collapse. This is called "panelling." On the other hand, if you go too high on the hardness scale without adjusting your tooling, the metal becomes brittle. It might hold the weight perfectly, but when your machine tries to fold the edge to make the seam, it could crack.
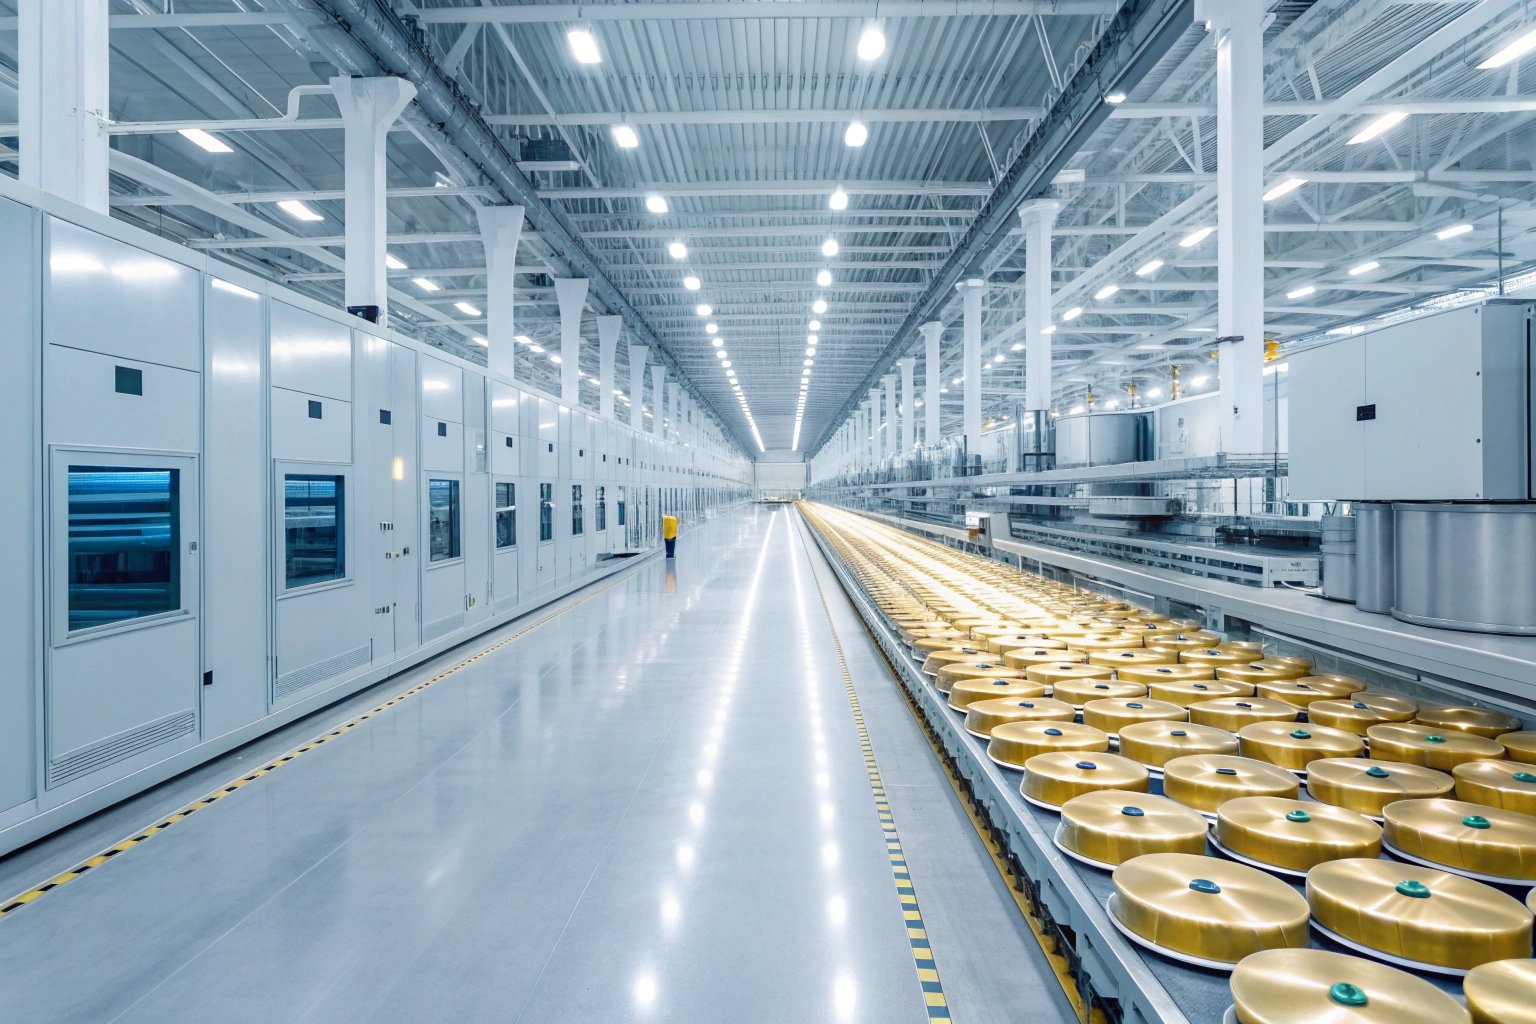
For large industrial cans, like the 1-gallon size often used for bamboo shoots or large catering packs, we actually recommend T3 (Batch Annealed 2). Why? because these cans have a very wide diameter. The bottom acts like a large drum skin. If the steel is too stiff, any shock during transport—like a truck hitting a bump—transmits that energy directly to the seam, potentially breaking the seal. T3 has just enough "give" to absorb that shock. However, for smaller, standard food cans (like the 300 or 401 sizes), T4 (Continuous Annealed 3) is superior. It provides a stiffer, more consistent surface that protects the vacuum inside.
Temper Hardness Scale and Typical Applications
| Temper Code | Hardness (HR30T) | Characteristics | Common Applications |
|---|---|---|---|
| T3 (BA) | 57 ± 3 | Medium Soft, good impact resistance | Large catering cans, deep-drawn parts |
| T4 (CA) | 61 ± 3 | Medium Hard, high consistency | Standard food cans (fruit, soup, veg) |
| DR8 | 73 ± 5 | Extra Hard, stiff but brittle | Beverage cans, shallow ends, cost-saving |
When we export to clients in Europe or South America, we also have to consider the journey. A can that sits on a shelf in a local supermarket has a different life than one shipped halfway across the world. For long-haul logistics, we often suggest moving up half a grade in hardness or ensuring the bead design on the bottom end is aggressive enough to add strength that the metal temper might lack. It is about matching the physics of the metal to the reality of your supply chain 4.
Should I choose DR temper to reduce my material costs?
We all know steel prices are unpredictable, and the pressure to cut costs is constant. Switching to thinner, harder material seems like the perfect fix, but is it safe for your specific machinery?
DR (Double Reduced) temper allows you to use thinner gauges without losing strength, offering significant material savings. However, it requires precise tooling. If your seaming equipment is old, DR might crack. It is the best choice for high-volume, cost-sensitive production runs.
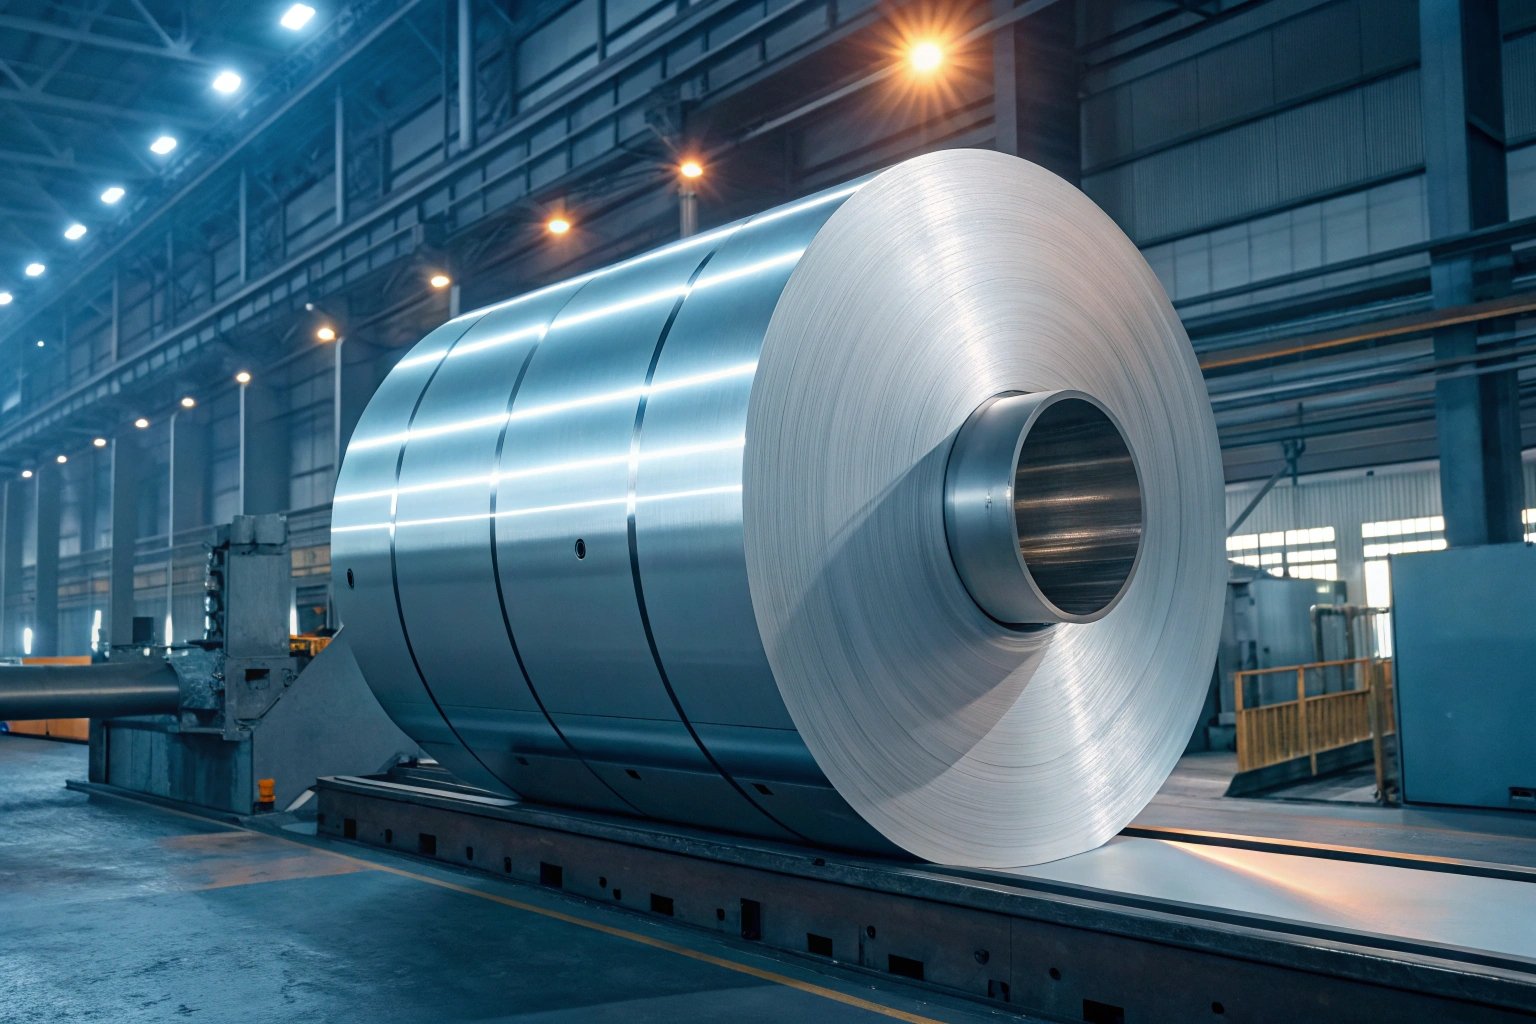
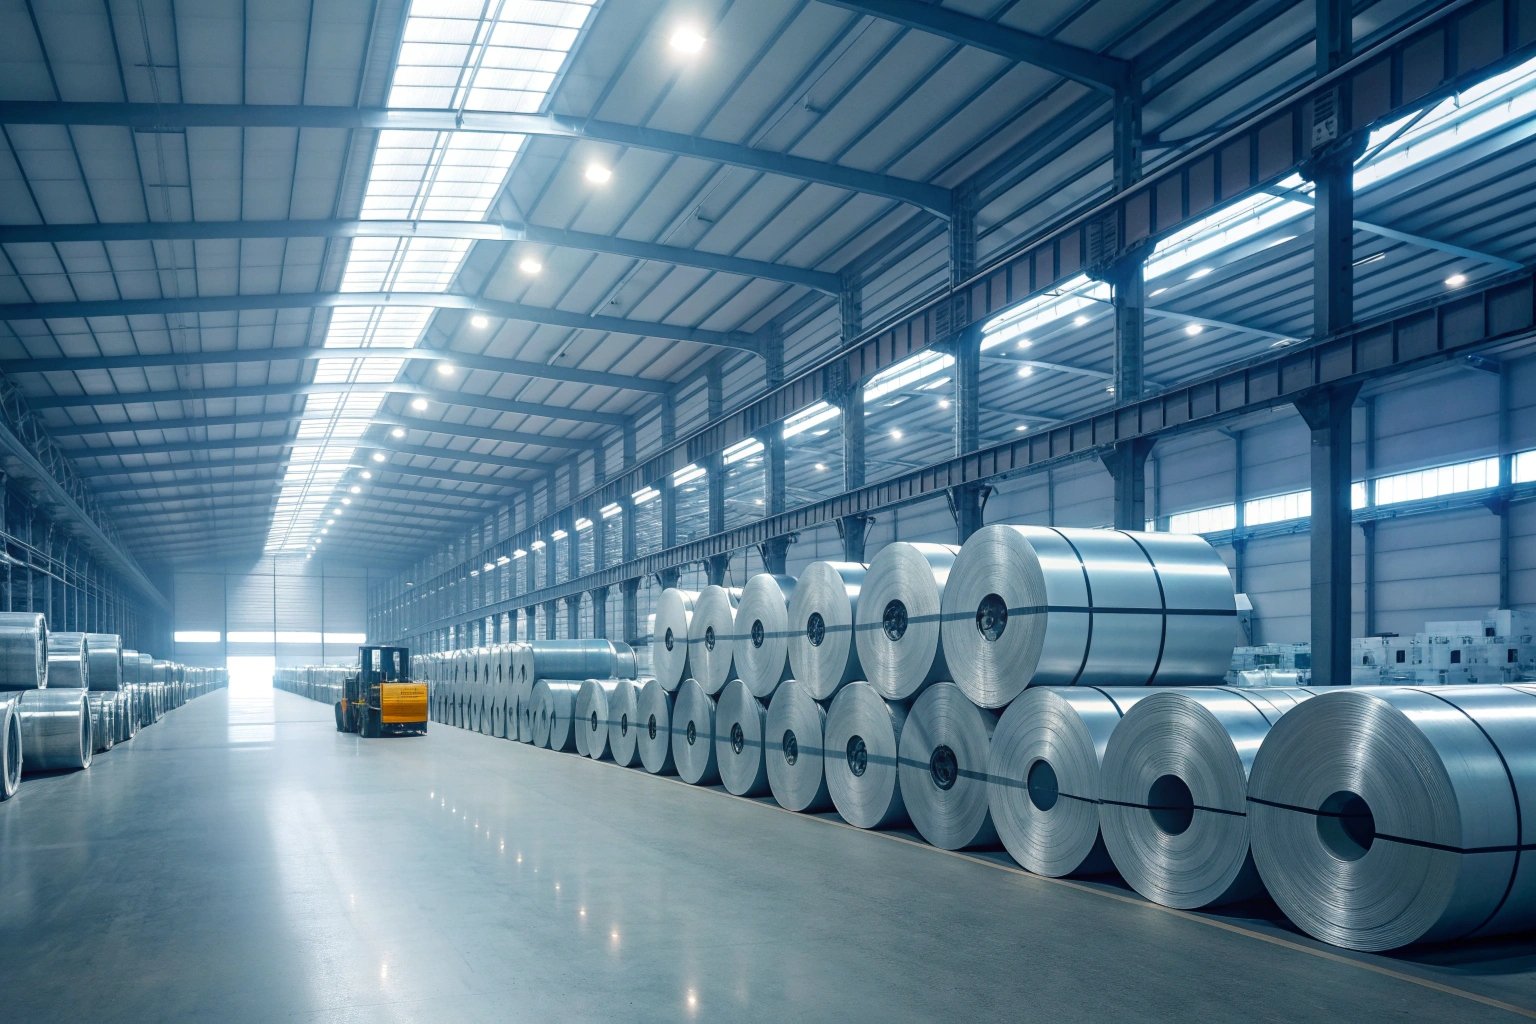
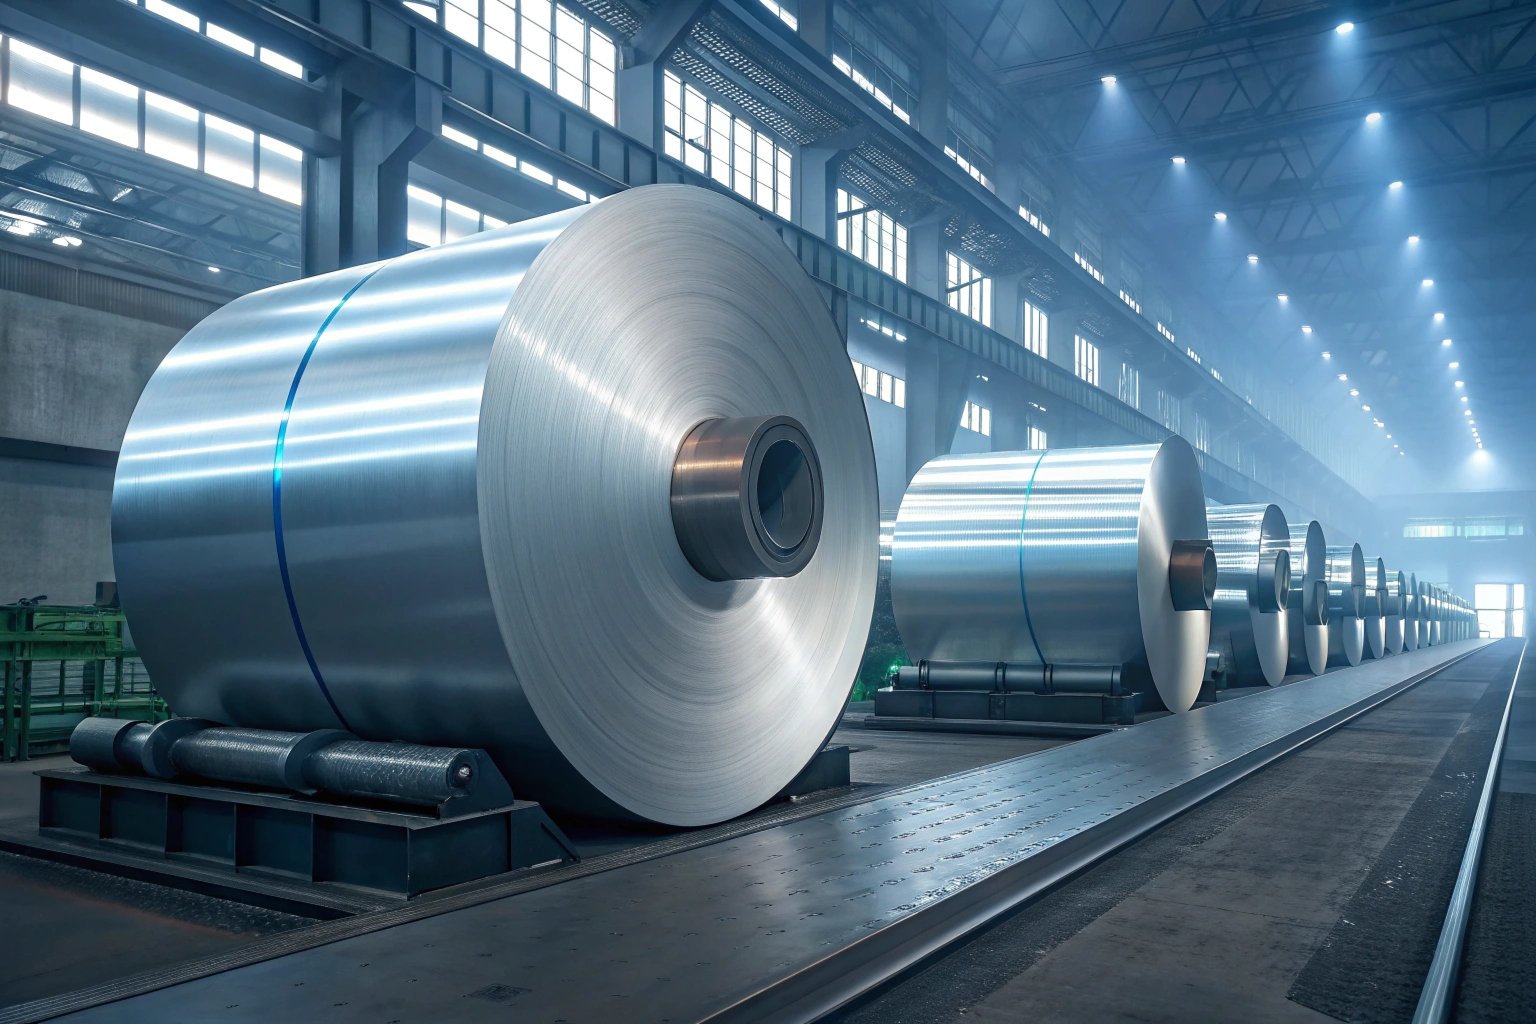
Double Reduced 5 (DR) material is indeed a powerful tool for cost reduction, but it is not a simple "plug and play" replacement for Single Reduced (SR) steels like T3 or T4. To create DR steel, we take the coil after the first cold rolling and annealing, and then we pass it through the rolling mill a second time. This crushes the grain structure of the steel, making it significantly thinner and much harder.
The economic argument is strong. Since you buy tinplate by weight (metric tons) but use it by surface area (square meters), thinner steel means a higher yield. You get more bottom ends out of every ton of steel you buy. For a factory producing millions of ends a month, switching from 0.20mm T4 to 0.17mm DR8 can save a massive amount of money. But there is a catch. DR steel has "directionality."
Think of DR steel like a piece of wood. It has a grain. It is very strong if you bend it one way, but if you try to bend it against the grain, it can split. T4 steel is generally "isotropic," meaning it has similar properties in all directions. DR steel is "anisotropic 6." This matters immensely when you are stamping a round bottom end. The flange—the part that gets seamed onto the can body—will experience different stresses depending on where it sits relative to the grain. If your stamping dies are not perfectly maintained, or if the clearance is not set correctly for the thinner material, you will see "flange cracking."
Material Characteristics Comparison
| Feature | Single Reduced (T3/T4) | Double Reduced (DR8/DR9) |
|---|---|---|
| Thickness Range | 0.18mm – 0.35mm | 0.14mm – 0.24mm |
| Yield Strength | Moderate (300-400 MPa) | High (550+ MPa) |
| Formability | Excellent, multi-directional | Limited, grain-sensitive |
| Springback | Low, predictable | High, requires tool compensation |
Another hidden factor is tool wear. DR steel is harder, which means it is more abrasive on your cutting dies. If you switch to DR to save on material costs, you might end up spending those savings on sharpening your carbide dies more frequently. We often advise our clients to look at the "Total Cost of Ownership 7." If you have modern, high-speed, high-precision presses (like Minster or Bruderer), DR is a fantastic choice. If you are running older equipment with looser tolerances, sticking to T4 might actually be cheaper because it runs smoother and produces less scrap.
I always tell my buyers: do not just chase the lowest price per ton. Chase the lowest cost per good can produced. If you want to try DR, we can send a trial coil. Run it slow. Check the grain direction. Measure the springback. If it works, the savings are real. But if it cracks, T4 is still the king of reliability.
What happens if I use the wrong temper for pressure cooking?
The sterilization process is the most dangerous 60 minutes in the life of a food can. If the bottom end fails inside the retort cooker, you lose the product, damage your machines, and create a huge mess.
Using a temper that is too soft during pressure cooking (retorting) leads to permanent deformation or "peaking." The internal pressure spikes, and if the bottom end cannot flex back, the seal fails. You must match the temper to your specific sterilization curve and temperature.
When you seal food in a can and heat it, you are effectively creating a pressure bomb. The water in the food turns to steam, and the air trapped in the headspace expands. This creates massive internal pressure that pushes outward against the can body, the lid, and the bottom end. This process is called "retorting." The critical moment is not just the heating, but the cooling. When the cold water hits the hot can, the pressure difference changes rapidly.
If you use a temper that is too soft—let’s say a low T3 for a product that needs high heat—the metal will stretch beyond its "elastic limit 8." Think of a rubber band versus a piece of chewing gum. A rubber band stretches and comes back. Gum stretches and stays stretched. Soft steel acts like the gum under high pressure. The bottom end will bulge out and form a sharp point. We call this "peaking." Once a can has peaked, it will not go back to its flat shape. The metal is permanently deformed.
This is a disaster for two reasons. First, the can looks spoiled. No consumer will buy a swollen can. Second, and more dangerously, this stretching distorts the double seam. It can pull the layers of metal apart just enough to let microscopic amounts of cooling water—which might not be perfectly sterile—into the can. This leads to spoilage days or weeks later.
Matching Temper to Retort Process
| Food Type | Retort Temp | Internal Pressure | Recommended Temper |
|---|---|---|---|
| High Acid (Fruit) | < 100°C | Low | T3 or T4 |
| Low Acid (Meat/Veg) | > 121°C | High | T4 or DR8 |
| Pet Food | > 125°C | Very High | DR8 |
We also have to talk about the design of the bottom end itself, specifically the "expansion rings." These are the circular ridges stamped into the metal. They are designed to act like a diaphragm, popping out during cooking and popping back in during cooling. However, these rings rely on the stiffness of the metal to work. If the metal is too soft (T2 or T3), the rings just unfold and stay unfolded. If the metal is too hard (DR9), the rings are too stiff to move, and the pressure forces the seam to break instead.
I had a client in Thailand who was canning sweet corn. They tried to save money by using a softer T3 material. Their retort cooker 9 process ran at 121°C. They lost 15% of their first batch to peaking. We switched them to a T4 CA (Continuous Annealed) material. The T4 was stiff enough to resist the initial bulge, and the expansion rings worked perfectly. The scrap rate dropped to zero. It is not just about the steel; it is about how the steel reacts to heat and physics.
Is T4 temper strong enough for vacuum-packed food products?
Vacuum packing is the opposite of pressure cooking; instead of exploding, the risk is implosion. I often help clients who worry that standard materials will collapse under the negative pressure of modern high-speed packing lines.
Yes, T4 temper is the industry standard for most vacuum-packed food products. Its medium hardness provides enough rigidity to maintain the vacuum seal without collapsing or "paneling." It offers excellent compatibility with standard 3-piece cans, making it the safest global choice.
When you vacuum pack a product—like dry milk powder, coffee, or vegetables with very little brine—you suck the air out of the can before sealing it. This creates a vacuum packing 10 environment inside. The atmospheric pressure outside the can is now higher than the pressure inside. The air in the room is crushing the can from all sides. The bottom end must be strong enough to resist this crushing force.
This is where T4 temper really shines. It is what I call the "Goldilocks" material for vacuum packing. It is not so soft that it collapses easily, but it is not so hard that it becomes brittle. If you use a softer temper like T3 for a high-vacuum can, you risk "paneling." This is when the flat panel of the bottom end gets sucked inward too aggressively.
Why is this a problem? If the panel is sucked in too far, it puts constant tension on the double seam. It is constantly pulling the metal away from the body hook. Over time—and canned food sits in warehouses for months—this tension can cause the sealing compound (the rubbery glue inside the seam) to fatigue and separate. Once that happens, air rushes in, and the vacuum is lost. The food spoils.
Why T4 is the Safe Bet
For vacuum applications, the flatness of the bottom end is also a marketing issue. A bottom end that is sucked in looks distorted. It makes the can unstable when stacked on a supermarket shelf. T4 provides enough rigidity to keep that panel relatively flat, even under vacuum.
Furthermore, we have to consider the variation in steel production. Steel mills are not perfect. A batch of T3 might be on the lower end of the hardness scale one day and on the higher end the next. T4, especially when produced via Continuous Annealing (CA), has a much tighter hardness range. The heating and cooling process in CA is faster and more controlled than Batch Annealing.
This consistency is vital for your seaming machines. If you are running a vacuum seamer at 600 cans per minute, you need every bottom end to behave exactly the same way. If you have a soft batch followed by a hard batch, your vacuum levels will fluctuate. By sticking with a high-quality T4 from a reputable mill (like the ones we source from at Huajiang), you are buying peace of mind. You know that the metal will hold the vacuum today, tomorrow, and two years from now when the customer finally opens the can.
Conclusion
Choosing between T3, T4, and DR is about balancing cost against the physics of your production line. T4 is your safest general-purpose option, while DR offers real savings for those with the right tooling. If you are still unsure which temper fits your specific retort or vacuum process, let’s look at your specs together.
Footnotes
1. Explanation of the Rockwell hardness scale for metal testing. ↩︎
2. Definition and process of batch annealing for steel treatment. ↩︎
3. Technical overview of the continuous annealing steel production process. ↩︎
4. Insights into supply chain logistics and management strategies. ↩︎
5. Details on the properties and benefits of double reduced steel. ↩︎
6. Material science definition regarding directional properties in substances. ↩︎
7. Analyzing the full financial impact of asset acquisition. ↩︎
8. Scientific definition of elastic limit and material deformation. ↩︎
9. Overview of retort processing for food sterilization and safety. ↩︎
10. General information on vacuum packing methods and preservation. ↩︎