I know that choosing the wrong steel temper 1 ruins your production line. Cracks and waste cost you money. Let me clarify the differences between T1, T2, and T3 tempers.
The main difference lies in hardness and formability. T1 is the softest and best for deep drawing complex shapes. T2 offers a balance of strength and flexibility for general use. T3 is the hardest of the three, providing high rigidity for can bodies and stiff lids.
You need to know more than just the basics to buy the right material. If you pick the wrong grade, your machines will jam, or your cans will collapse. Let’s look at the specific details so you can avoid costly mistakes in your factory.
Which temper is best for deep drawing easy open ends?
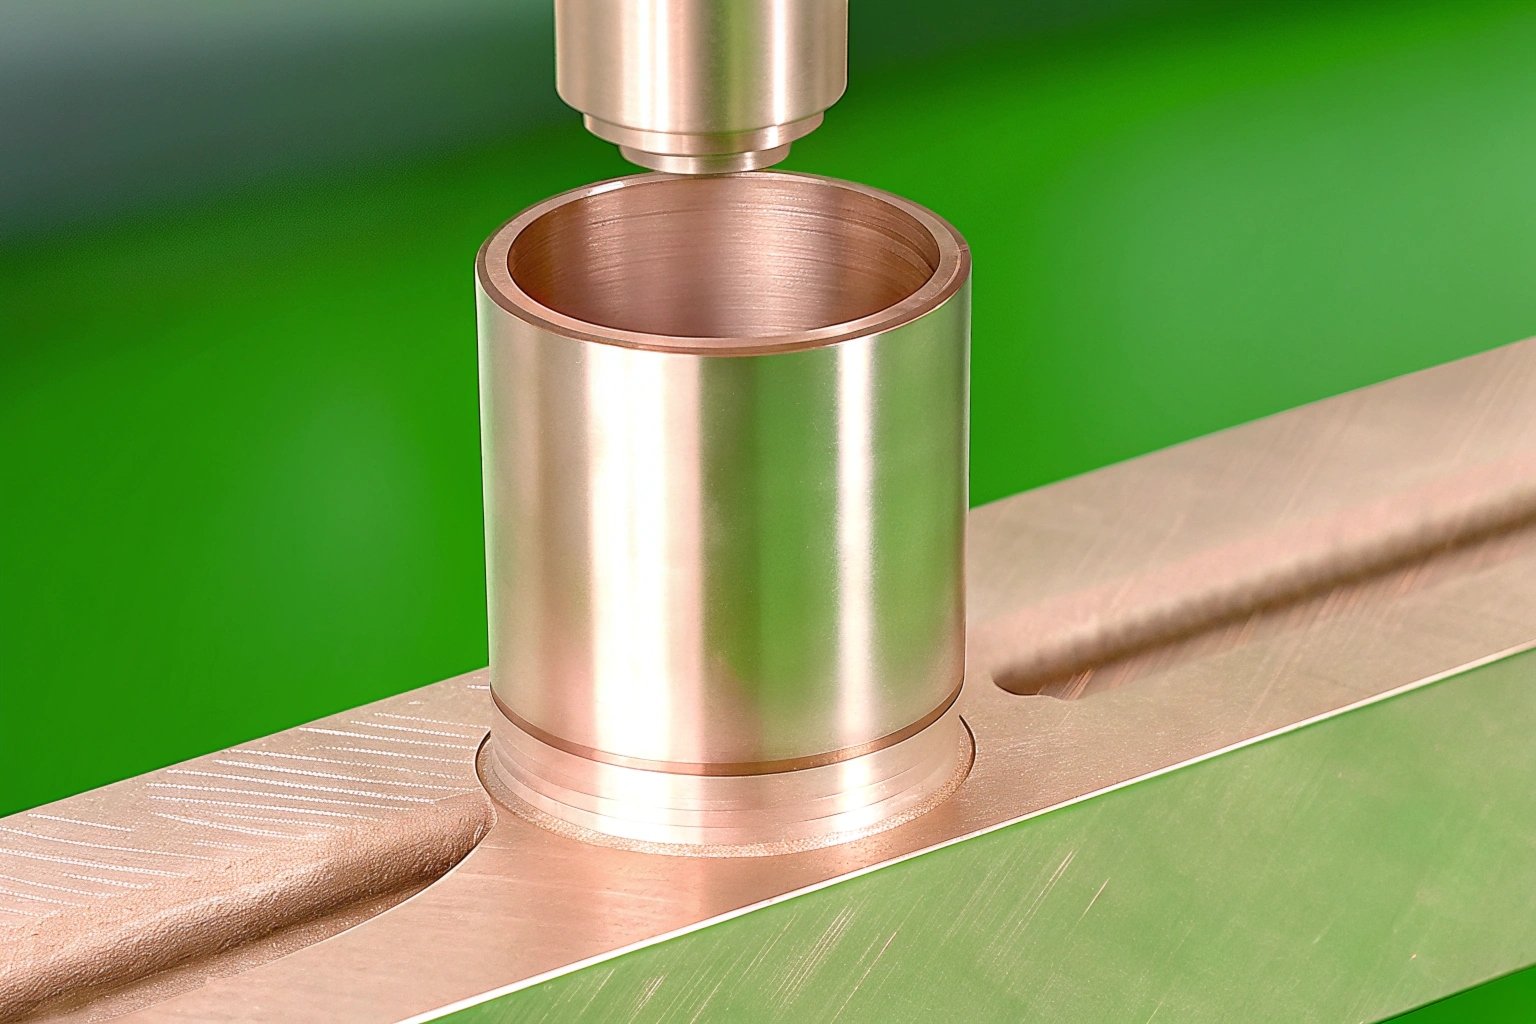
Deep drawing puts massive stress on the metal sheet. I have seen many production lines stop because the material snapped under pressure. You need the right softness.
T1 temper is the absolute best choice for deep drawing easy open ends. Its low hardness (46-52 HR 30T) allows the metal to stretch significantly without breaking. This high ductility makes it perfect for forming the complex shapes required for modern easy open ends.
When you manufacture easy open ends 2 (EOE), the metal must do two things. First, it must hold a shape. Second, and more importantly, it must stretch without tearing. This is where T1 temper shines. In the steel industry, we call T1 "fully annealed" 3. This means we heat the steel for a long time to make the internal grains large and soft. Soft metal flows like a thick liquid when you punch it with a die. Hard metal resists and cracks.
If you try to use T3 temper for a deep drawn component, you will fail. The T3 is too stiff. When your press comes down, the T3 steel will split at the corners. But T1 is forgiving. It allows the molecules to slide past each other. This is vital for "draw-redraw" processes where you change the shape of the cup multiple times.
I always tell my buyers to look at the "elongation" value. T1 has the highest elongation. This means you can stretch it further than any other temper before it snaps. This is critical for the rivet area on an easy open end. The rivet is where the tab attaches. To make that tiny button of metal, you have to stretch the steel very thin. Only T1 can handle that stress reliably.
Here is a simple breakdown of how the properties change across the tempers:
| Temper Grade | Hardness (HR 30T) | Main Characteristic | Best Application |
|---|---|---|---|
| T1 | 46 – 52 | Very Soft, High Ductility | Deep drawn parts, severe forming |
| T2 | 50 – 56 | Moderate Softness | General purpose, moderate drawing |
| T3 | 54 – 60 | Hard, Stiff | Can bodies, large diameter ends |
The Risk of Aging
There is one thing you must watch out for with T1. It is susceptible to "aging." Over time, if the steel sits in your warehouse for too long, it can develop stretcher strains 4. These look like ugly lines on the surface of the metal. This happens because the carbon atoms inside the steel move around slowly. If you buy T1, you should use it quickly. Or, you must ensure your supplier uses "non-aging" steel practices. In my factory, we manage this carefully, but you need to be aware of it for your inventory planning.
Manufacturing Consistency
Another reason T1 is best for deep drawing is the "earing" effect. When you draw a round cup from a square sheet, the top edge is never perfectly flat. It has waves. We call these waves "earing" 5. T1 temper, when produced correctly, has a grain structure that minimizes these ears. This means you trim less waste metal off the top of the can. Less waste means more profit for you. If you use a harder temper like T2 for deep drawing, the ears might be bigger and unpredictable.
How do I avoid cracking during the beading process with T3 temper?
Cracks during beading are a nightmare for any can maker. I hear this complaint often from clients who push harder materials too far. It ruins the can integrity.
You must adjust your machine pressure and speed to handle T3 temper. T3 is hard and brittle, so it resists stretching. To avoid cracking, use wider bead profiles and ensure your grain direction runs parallel to the bead. Do not force the metal beyond its limit.
Beading 6 is the process of putting ribs into the side of a can. We do this to make the can stronger so it does not collapse under vacuum. However, beading involves stretching the metal locally. T3 temper is already hard (54-60 HR 30T). It has been cold-rolled 7 to make it strong. Because it is already strong, it does not like to stretch much more. When you force a bead into T3 steel, you are pushing it very close to its breaking point.
Check Your Grain Direction
The most common mistake I see is ignoring the grain direction 8. When we roll the steel at the mill, the grains elongate in the direction of rolling. The steel is stronger in one direction and more flexible in the other.
- Parallel: If you bend the steel parallel to the rolling direction, it might crack.
- Perpendicular: You should try to bend or bead across the grain (perpendicular) when possible.
However, in can making, you often cannot choose this easily because of how you cut the sheet. So, if your grain direction is not ideal, you must change the bead shape. A sharp, deep bead acts like a knife. It creates a stress point. If you use T3, you should use a rounded, shallower bead. This spreads the stress out over a larger area.
Lubrication is Key
Friction is your enemy here. If the beading tool drags on the tinplate, it creates heat and extra tension. The coating might peel, and the steel underneath will crack. You need to ensure your external varnish or coating has enough "slip." We often add a wax additive to the coating for our customers who use T3 for beaded cans. This wax helps the tool slide over the surface. If you hear a screeching noise during production, your lubrication is failing, and cracks will follow soon.
Adjusting the Beader Settings
You cannot run T3 with the same settings you use for T2. T3 has more "spring-back." This means after you push it, it tries to bounce back to its original shape. Operators often increase the pressure to fight this spring-back. That is dangerous. Too much pressure snaps the metal. Instead of one deep pass, consider if your machine can do it differently, or simply slow down. Speed creates heat and shock. Slowing down the line slightly can reduce the reject rate significantly.
| Problem | Cause with T3 Temper | Solution |
|---|---|---|
| Micro-cracks | Bead profile is too sharp | Use a rounder bead radius |
| Split flanges | Metal is too hard | Check grain direction |
| Coating loss | High friction | Improve surface wax/lubrication |
If you follow these rules, T3 is an excellent material. It allows you to use thinner steel because it is inherently strong. Thinner steel saves you money on raw materials. You just have to treat it with respect during the forming process.
Can you substitute T4 temper if T3 is out of stock?
Supply chains get disrupted, and you might run out of T3. I often get asked if T4 is a safe backup option when deadlines are tight.
You can substitute T4 for T3, but only for specific applications like can bodies. T4 is harder and stiffer than T3. It will hold shape better but will crack easier if you try to flange or bead it too aggressively. You must test a sample first.
Sometimes, the market is tight. You need material now, and the warehouse only has T4. Can you use it? Yes, but you have to be careful. T4 is harder than T3. While T3 sits around 57 HR 30T on average, T4 is usually around 61 HR 30T. That might not sound like a big difference, but in metal forming, it is huge.
The Stiffness Advantage and Disadvantage
T4 is stiffer. This is actually good for the strength of the finished can. A can made of T4 will be very resistant to dents. It will stack well in the warehouse. Because it is stiffer, you might even be able to use a slightly thinner gauge (thickness) than you normally use with T3. This could save you money.
However, the disadvantage is ductility. T4 does not stretch well. If your can design requires a very tight flange (the lip at the top of the can), T4 might split. The flange is where the lid attaches. If the flange cracks, the can leaks. A leaking can is a disaster for food safety. Before you switch to T4, you must check your flanging station. You might need to make the flange radius larger to prevent stress on the metal edge.
The Seaming Operation
The seamer is the machine that seals the lid to the body. This operation rolls the metal over itself. T4 acts like a strong spring. It wants to unroll.
- Loose Seams: If you swap T3 for T4 without adjusting the seamer, your seams might be too loose.
- Adjustment: You will likely need to increase the pressure on the seaming rolls (first and second operation rolls) to force the harder T4 metal into a tight seal.
Continuous Annealing (CA) vs. Batch Annealing (BA)
Often, T4 is produced using Continuous Annealing 9 (CA). T3 can be either CA or Batch Annealing (BA), but T4 is almost always CA. CA material is very consistent. The hardness is uniform across the whole sheet. T3 BA material can be softer on the edges and harder in the middle. So, switching to T4 CA might actually give you a more consistent performance in the machine, provided your machine can handle the extra hardness.
Here is a quick checklist before you substitute:
- Check the Flange: Run a small batch. Look for microscopic cracks on the flange edge using a magnifier.
- Test the Bead: If you bead the can, T4 might crack sooner than T3. Reduce the bead depth if possible.
- Adjust the Seamer: Tighten the rolls to handle the spring-back.
If your product is a simple 3-piece welded food can, T4 is often a great substitute for T3. In fact, many of my customers prefer T4 for smaller cans because it makes them feel very solid and premium.
How do I measure the Rockwell hardness to confirm the temper?
You cannot trust a certificate blindly without checking the material. I always tell my team to verify the hardness before we ship any coil to you.
To measure Rockwell hardness, you need a superficial hardness tester using the HR 30T scale. You place a clean sample on the anvil. The machine applies a 30kg load using a 1/16-inch ball indenter. The resulting number confirms if the steel matches the T1, T2, or T3 spec.
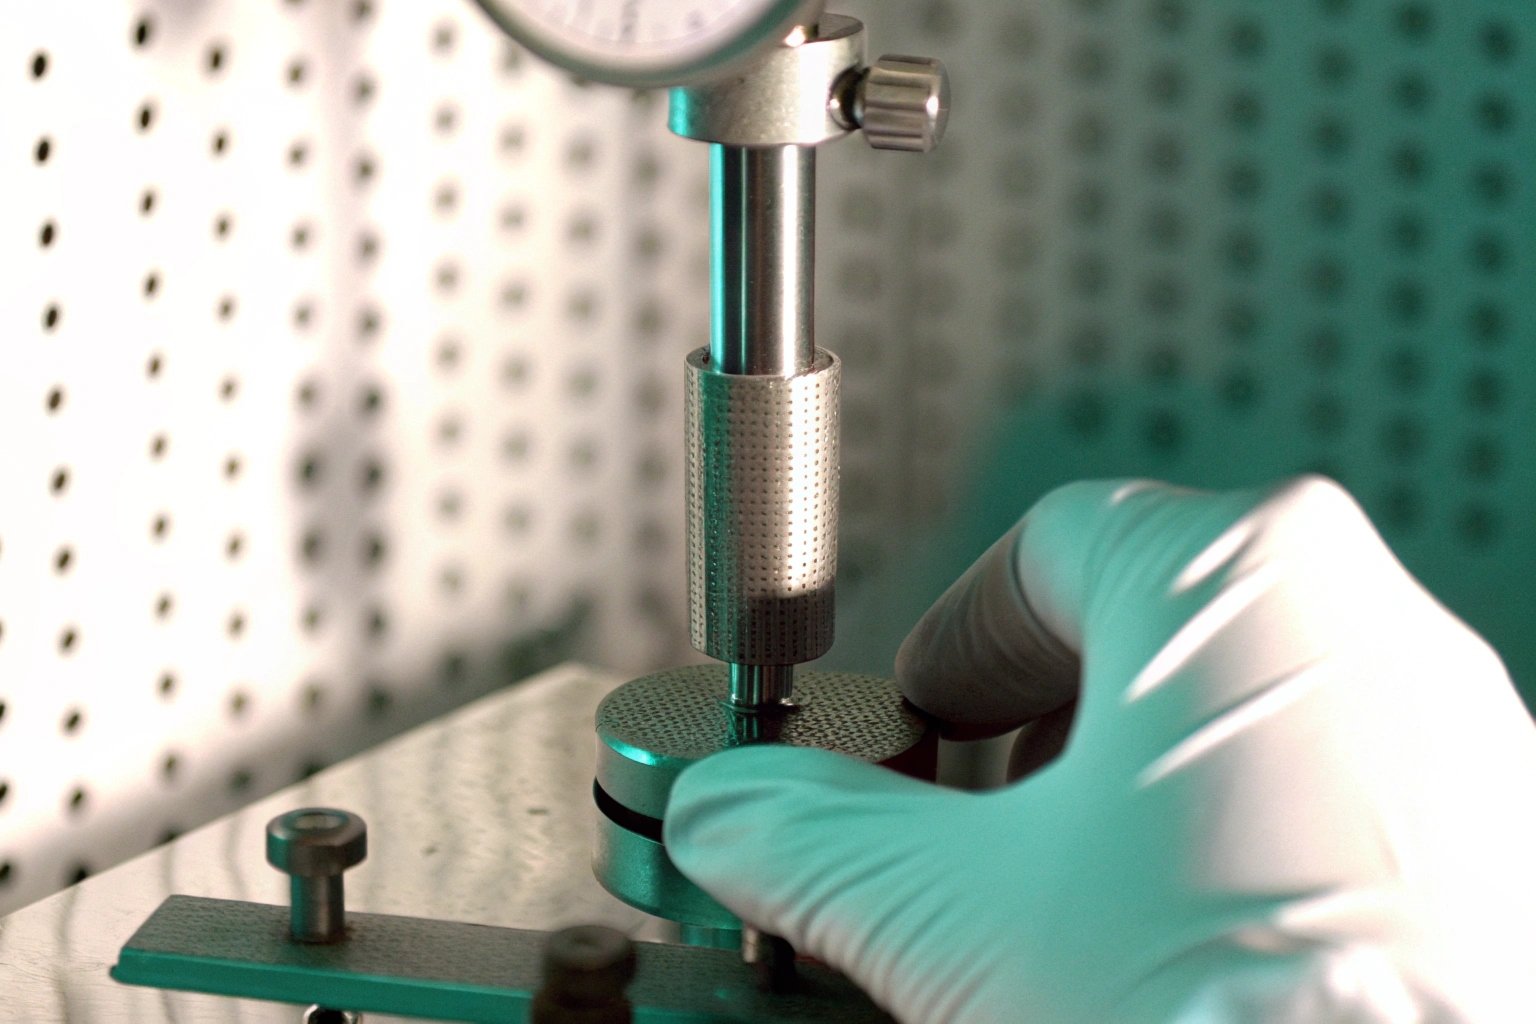
Rockwell hardness 10 testing is the only way to be sure what you are putting into your machines. In the tinplate industry, we do not use the standard Rockwell C scale that you might see for heavy machinery parts. Our metal is too thin. We use the Rockwell 30T scale.
Understanding the Equipment
You need a specific machine for this. It uses a "Superficial" setting.
- The Load: The total weight applied is 30 kilograms (kg). This is light enough not to punch through the thin sheet but heavy enough to measure resistance.
- The Indenter: We use a small steel ball, exactly 1/16 of an inch in diameter.
- The Anvil: The table where you put the metal is called the anvil. It must be a "diamond spot" anvil. This is crucial. Because the tinplate is thin, the pressure can go right through it. A diamond spot anvil is very hard and flat. It ensures the reading is measuring the metal, not the table underneath.
The Testing Procedure
First, you must clean the sample. Dirty samples give bad readings. Remove oil and dust. Some people ask if they should remove the tin coating. Strictly speaking, the standard requires removing the tin to measure the base steel. However, in daily factory operations, we often test with the tin on. The tin is soft, so it might lower the reading by 1 or 2 points. Experienced quality control managers know this and account for it. For example, if the spec is 57, and you read 56 with tin on, it is likely acceptable.
When you run the test, do not test near the very edge of the sheet. The edge is often deformed from cutting. Move at least 1 inch inward. Also, do not test the same spot twice. The first test hardens the spot. You must move the sample for each new reading.
Interpreting the Results
You will get a number, like 55. What does that mean?
- If you ordered T3, and you get 55, that is good. It falls in the 54-60 range.
- If you ordered T3, and you get 50, you have a problem. That is T2 material. It will be too soft for a stiff can body. The cans might panel (collapse) during cooking.
- If you get 65, it is too hard (likely T4 or T5). It will crack in your machine.
Here is the standard range for the tempers we discussed:
| Temper Code | Aim Hardness | Permitted Range (HR 30T) |
|---|---|---|
| T1 | 49 | 46 – 52 |
| T2 | 53 | 50 – 56 |
| T3 | 57 | 54 – 60 |
Regular testing protects your business. It takes five minutes, but it saves you from hours of downtime and thousands of ruined cans. Always double-check the material when it arrives at your dock.
Conclusion
Understanding the difference between T1, T2, and T3 tempers protects your production line. T1 is for deep drawing, T2 is for balance, and T3 is for strength. Choose wisely to ensure quality.
Footnotes
1. Properties and classifications of steel tempering methods. ↩︎
2. Manufacturing standards for beverage can lids and tabs. ↩︎
3. Heat treatment process to maximize ductility in steel. ↩︎
4. Visual defects caused by yield point elongation in steel. ↩︎
5. Formation of wavy edges during deep drawing operations. ↩︎
6. Process of strengthening can bodies with circumferential ribs. ↩︎
7. Hardening steel by rolling at room temperature. ↩︎
8. Impact of rolling alignment on metal forming strength. ↩︎
9. High-speed annealing for consistent metal hardness properties. ↩︎
10. Standard method for testing hardness of thin metal sheets. ↩︎